Make Your Own Feed Sack Tote
Written By
Vanessa Wrubleski
Rural at Heart
Photography by Vanessa Wrubleski
We love a good DIY project and know that a lot of our readers do too! Today we are sharing a great way to create a fun new feed sack!
This DIY was originally shared in our Summer 2021 Issue in Trailblazher Magazine.
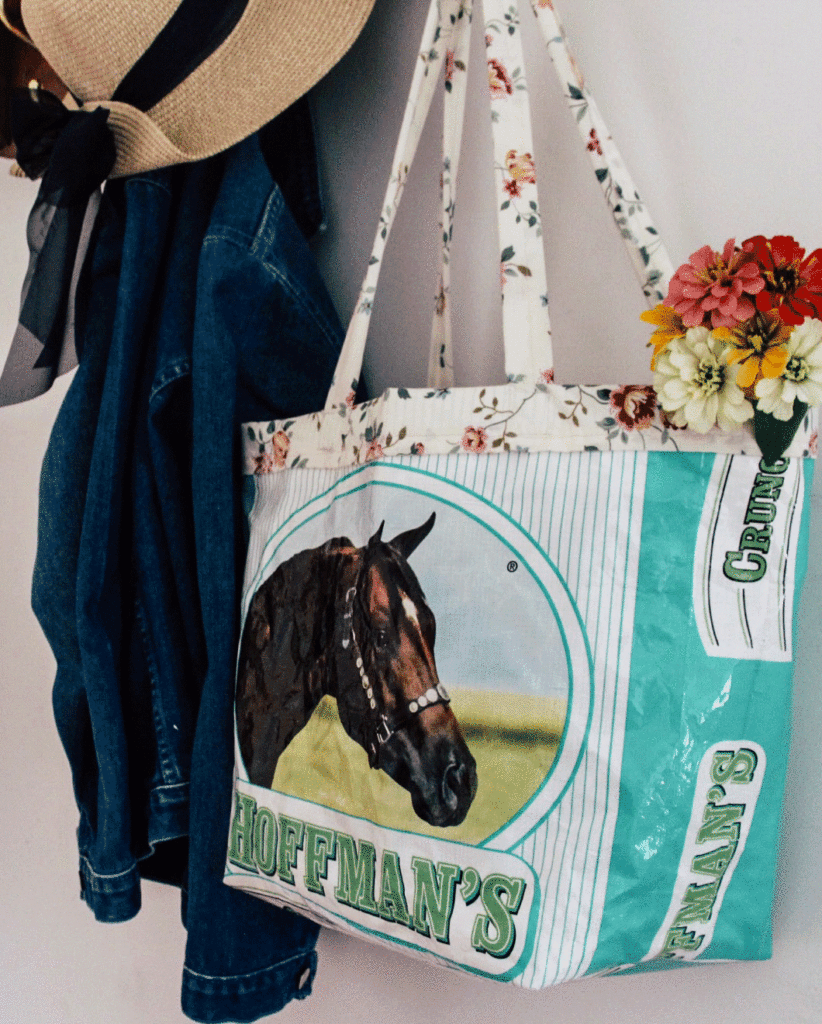
Feed Sack Tote
Feed sack totes are the newest upcycle craze, and for good reason! With society’s focus on limiting single use plastic, it is the perfect way to reduce and reuse two-fold; you are reusing the feed sack, therefore reducing the amount of garbage you are adding to the landfill, as well as creating a reusable bag that you can take to the store or market and avoid even more single use plastic. Plus they are so stinking cute while shopping at the farmer’s market!
Making a Feed Sack Tote is a very simple process with minimal sewing skills required, so it is perfect for a beginner. The addition of fabric straps and binding adds a simple yet personal touch to your tote.
When I sew from scratch (not following a pattern) I work backwards. First, I determine what I want my finished size to be, what I want my seam sizes to be, and then I go from there to get my cut sizes. This is how I will lay out this tutorial. I find it to be the most simple when working from scratch.
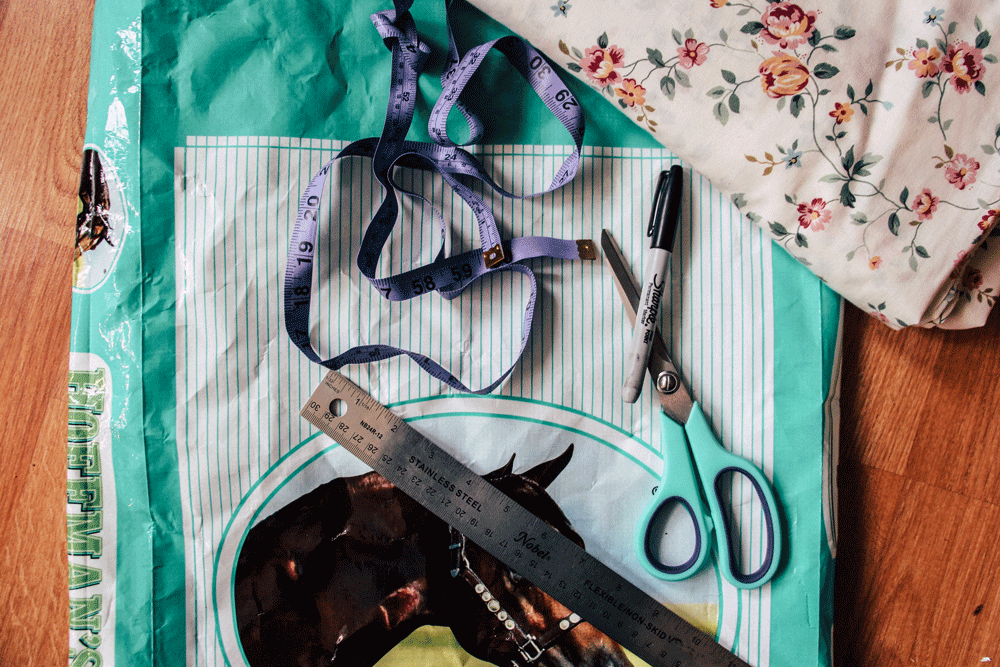
What you will need:
- Sewing machine with thread and needle
- Empty feed sack
- Scissors or rotary cutter and mat
- Tape measure or ruler
- Straight edge
- Marking utensil (pen or marker)
- Clips (binder clips work well here)
- Fabric of choice
- A few fabric pins
Preparation
Step 1.
Remove the bottom seam from the sack using scissors, or a seam ripper if you have one.
Step 2.
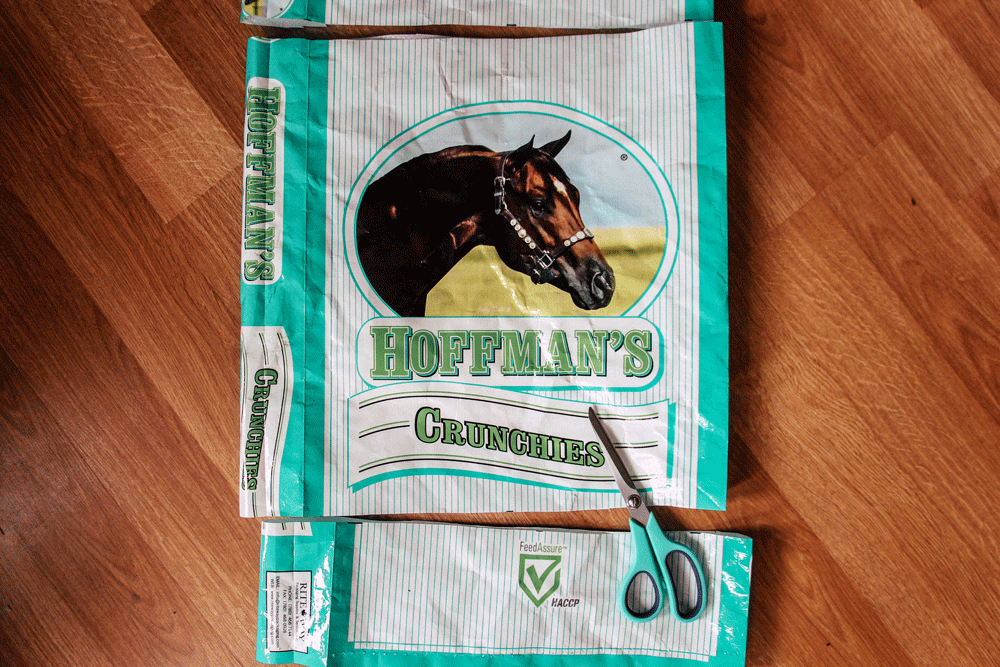
Determine what area of the sack you want as your main tote face, and decide what size you would like your tote bag to be. If you are following along with me, I cut my sack in such a way that the image I desired is centered, and I cut 17” of material to work with. With the measurements I will follow, this gives me a finished product of 12”.
Step 3.
Turn your sack inside out and wash all dust and debris from it. Allow it to dry. I like to clean my sack after cutting, because it means I have that much less to wash.
Let’s Start Sewing
Step 4.
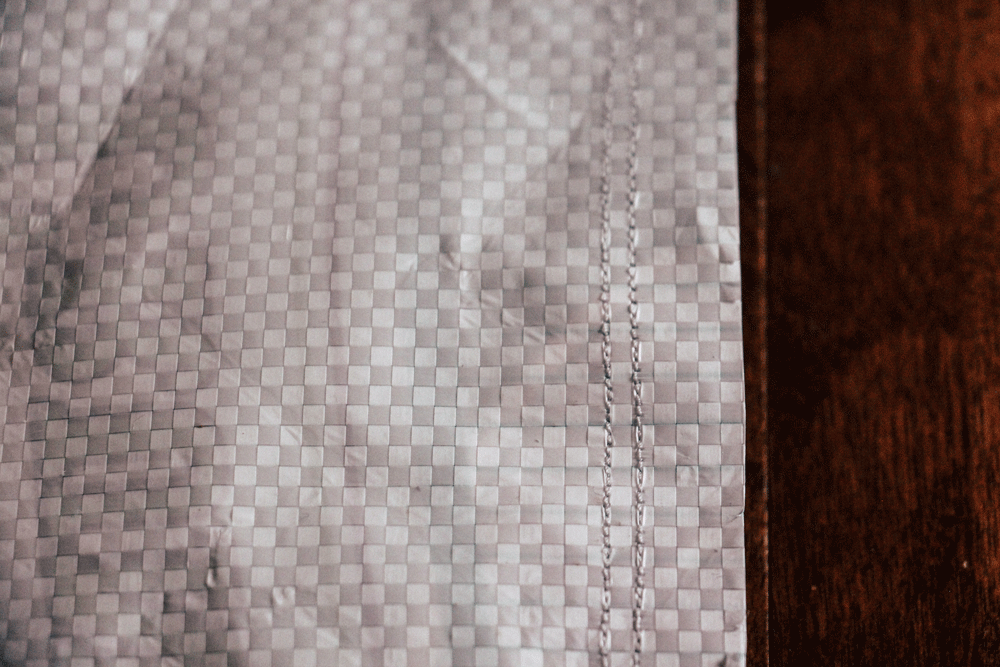
Start with the bottom seam. I like to do a double bottom seam for extra sturdiness. My first seam is ½” from the bottom edge, with the second being ⅛” out from that.
Step 5.
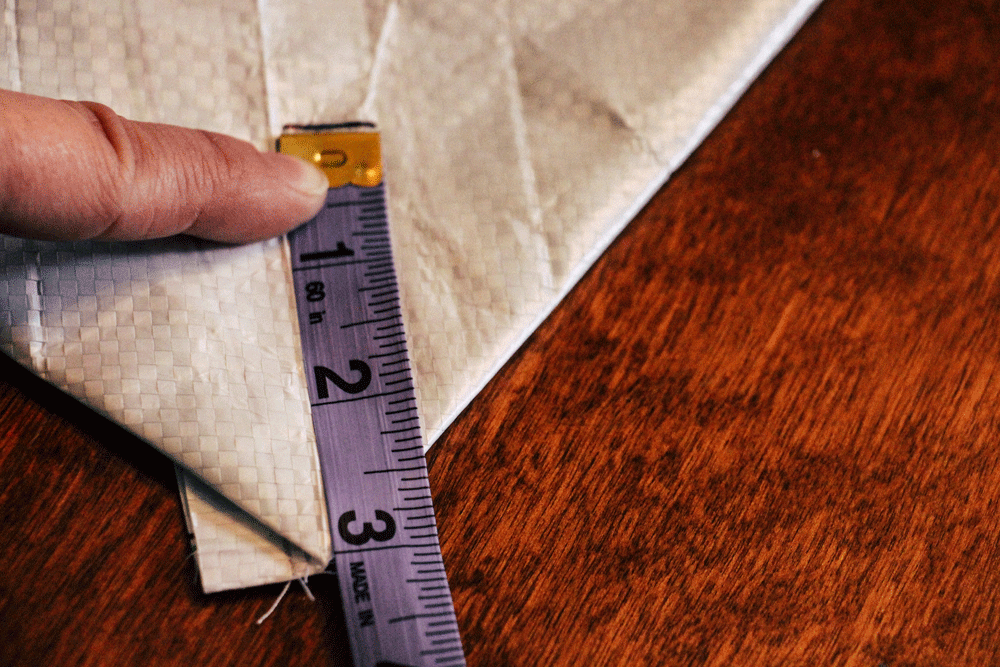
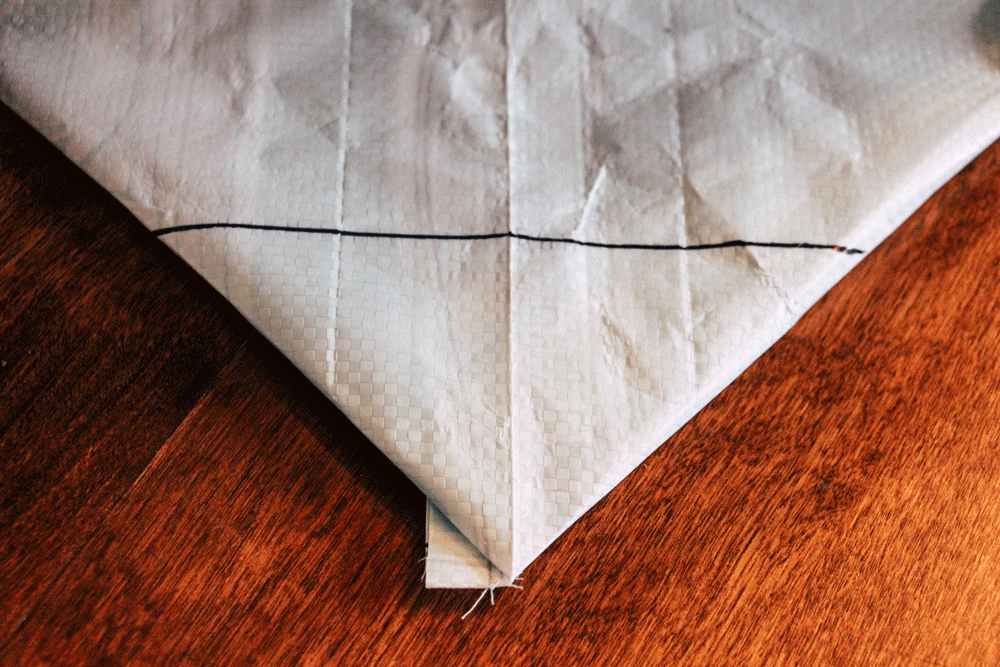
Stick your hand in the bottom of the bag and flatten it out, particularly close to the corners, and again from the outside, flatten the corners out. Measure 3” up from where the corner comes to a point, make a mark, and draw a straight line.
Step 6.
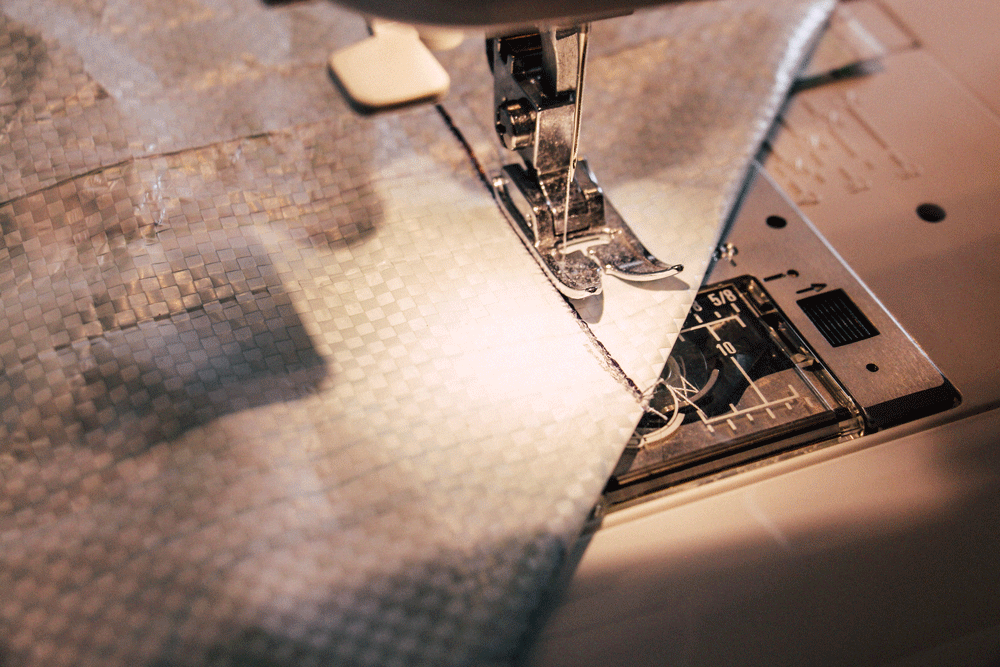
Sew along the line you just made, and again ⅛” or ¼” away for another double seam. Repeat on the second side.
Step 7.
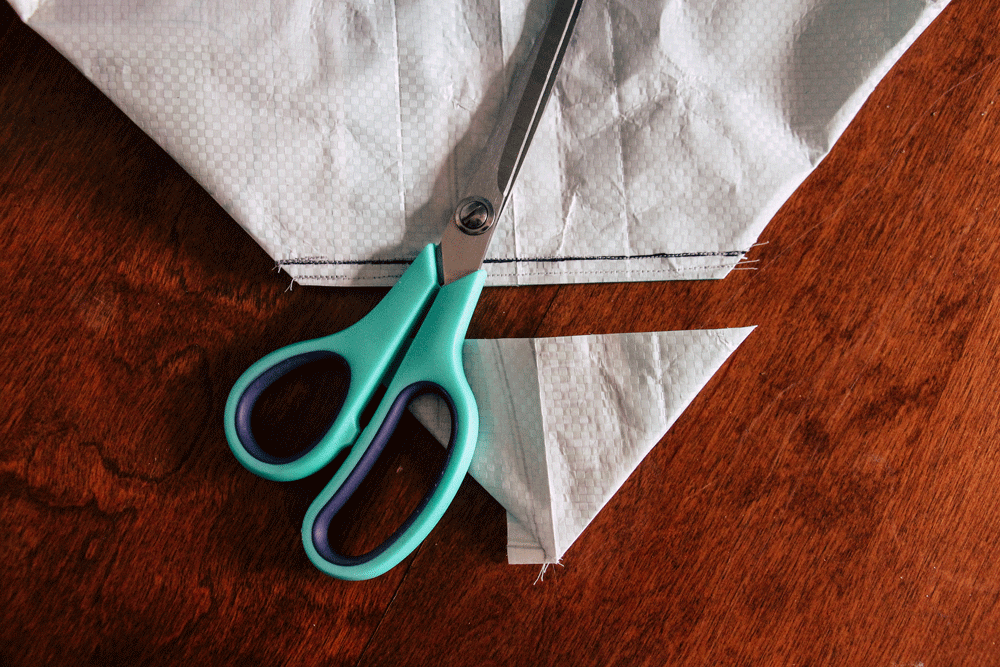
Cut the corner off, ⅛” away from the seam. Repeat on the second side.
Step 8.
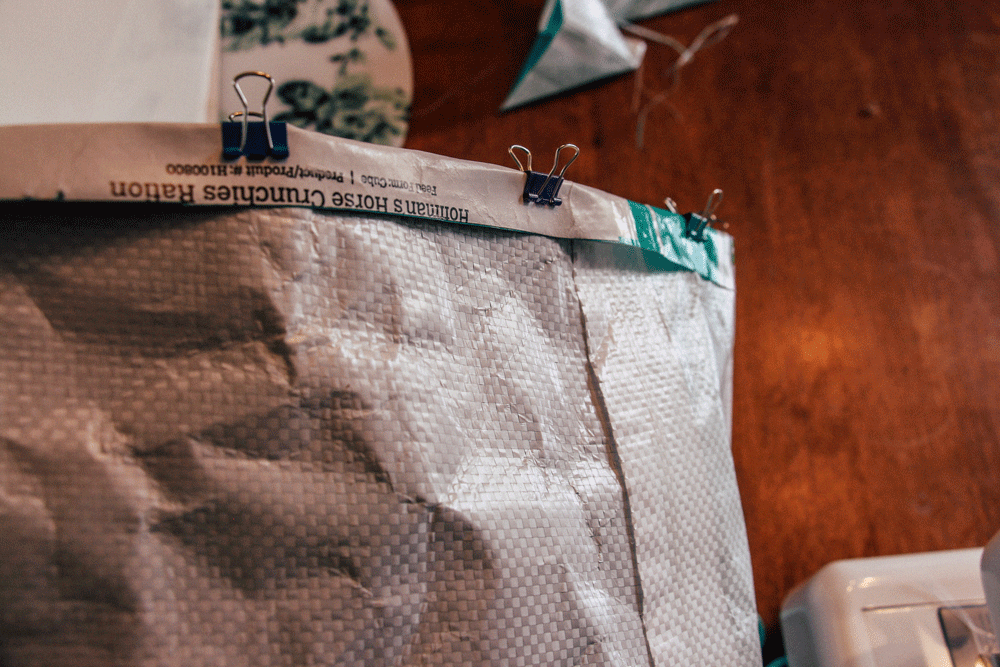
Fold the top over ½” all the way around, secure with clips and set aside.
Let’s start on the fabric binding! My gorgeous fabric here is actually an old fitted sheet I found at a second hand store. I always keep my eyes open for sheets at second hand stores and garage sales. I just wash them on the sanitary cycle as soon as I get home.
Step 9.
Measure around the top of your bag where you just folded it over. My bag is 36” in circumference.
Step 10.
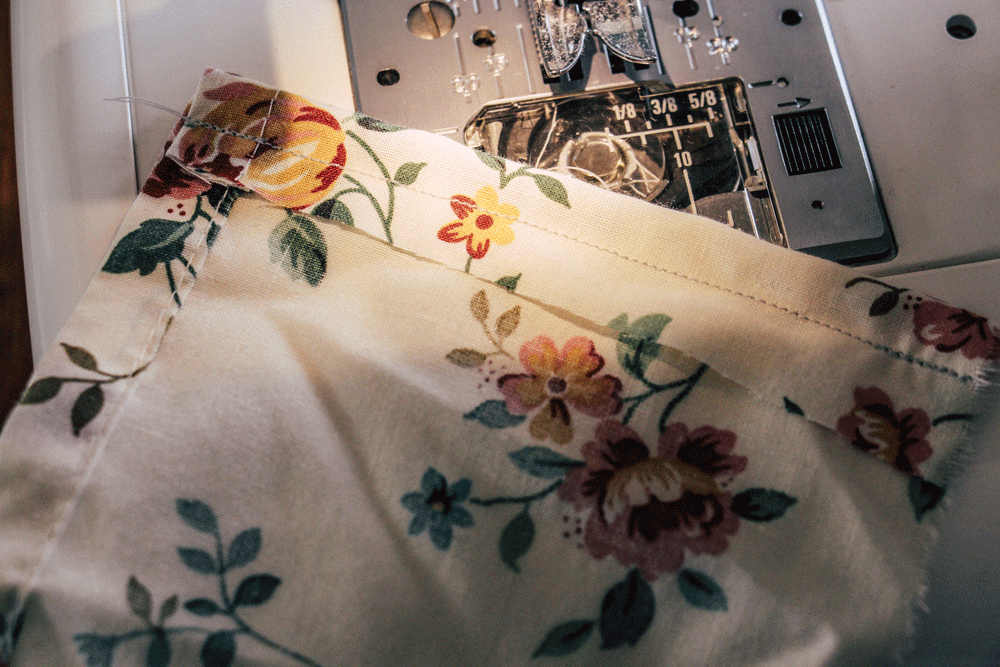
I wanted my finished binding strip to extend 1½” down the front of the bag, and 2” down the inside so I cut my fabric strip 4” wide. Add an 1½” to your circumference measurement to get the length you should cut your strip at. My strip was 37½” long. Keep in mind how much overlap you desire as well as seam allowances when deciding this measurement.
Step 11.
Create seams on your binding. My seams were ¼” on either side of the strip (width), as well as on both ends (length). This left me with a 1” overlap in length.
Step 12.
Remove the clips from your bag. You can either sew this seam down now, or do it all in one step as you sew the binding on the circumference of your bag.
Step 13.
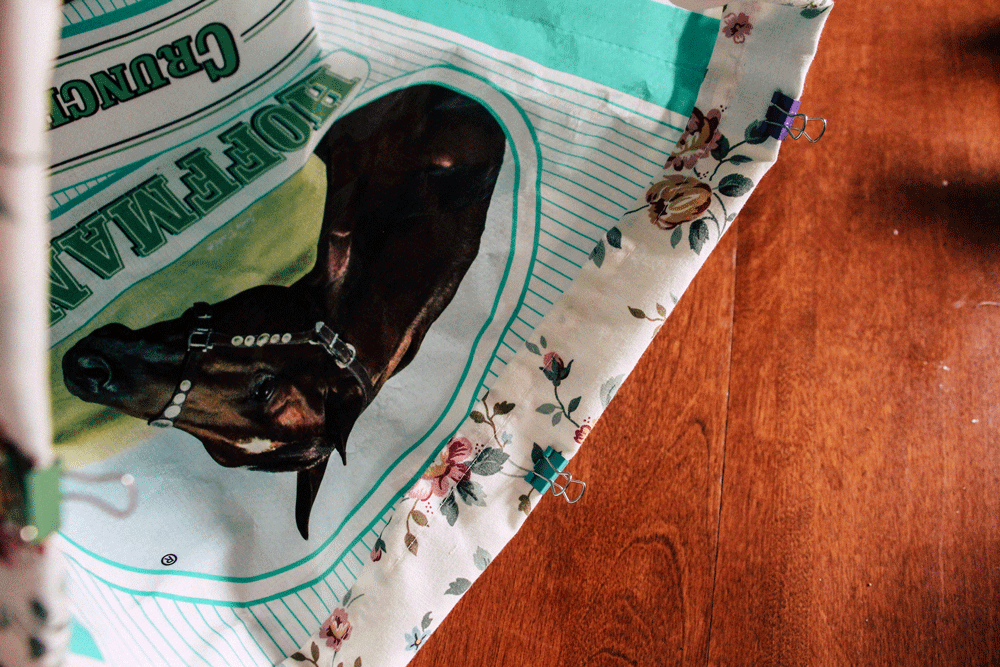
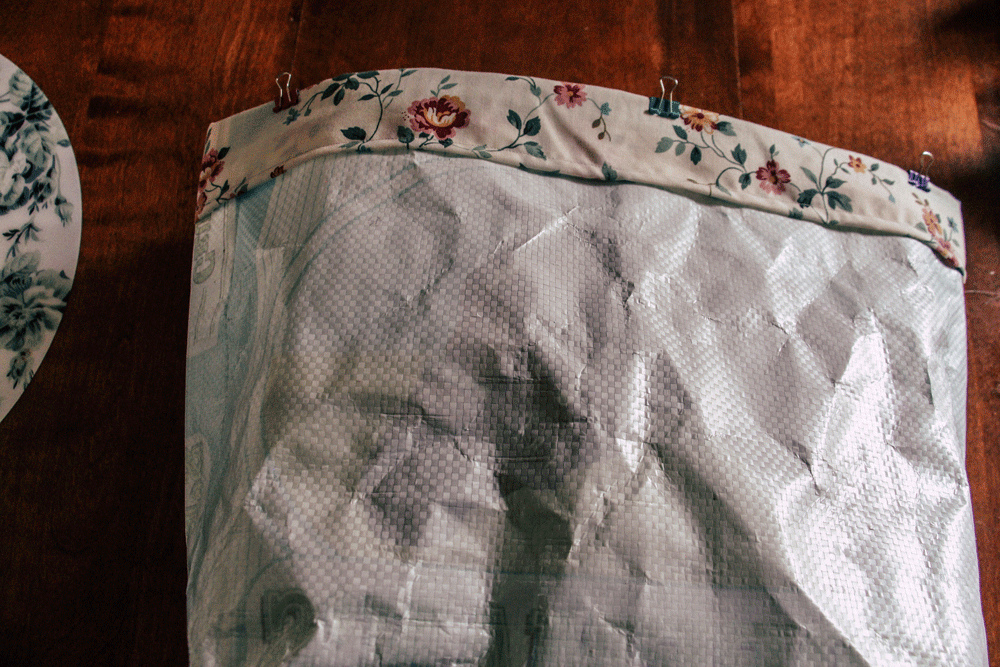
Line up your binding with desired extension and overlap positions, and reposition clips. I like to use clips as opposed to pins on the bag itself so that I don’t leave any holes. Sew the binding to the top circumference of your bag.
Now, for the straps. You can choose to use whatever you want for straps. You can use strips from the sack, more of your binding fabric, a contrasting or neutral fabric, or even nylon strapping material. I chose to use more of my fabric because it is so gosh darn pretty!
Step 14.
A:
For the strap length: Decide what length of straps you would like. I wanted my straps to be 14” when measuring from the center of the strap, down to where it is affixed to the bag for a 28” total finished length. Since the strap has two sides, double that length and add 2” (an inch on either side that gets sewn to the inside of your bag) to get the FULL length of your finished strap. Then add seam allowances (my seams were ½” on each side). Doing the math, I cut my strips 31” long.
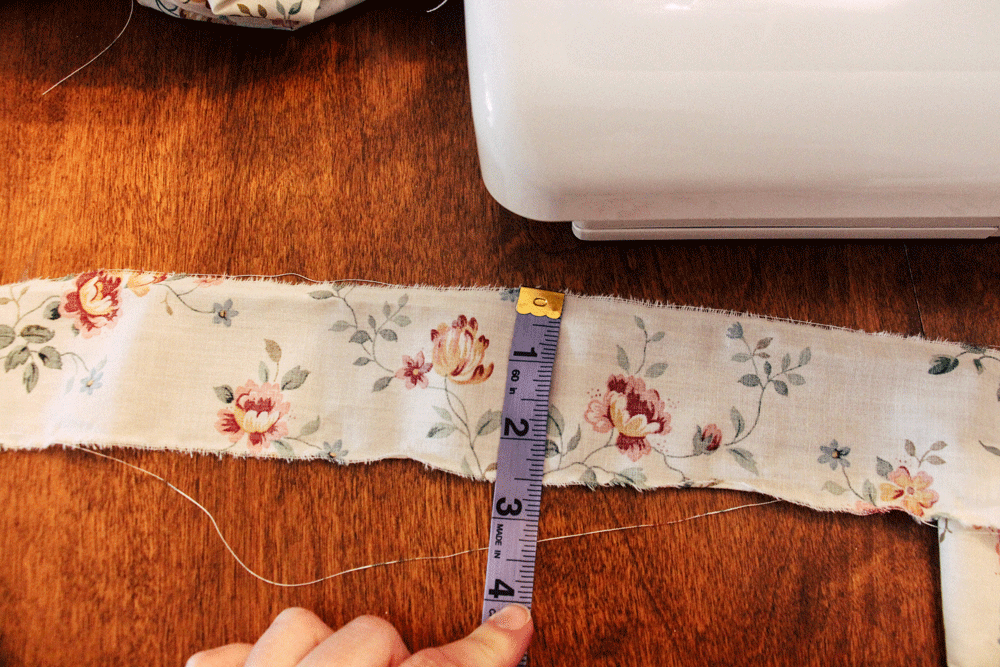
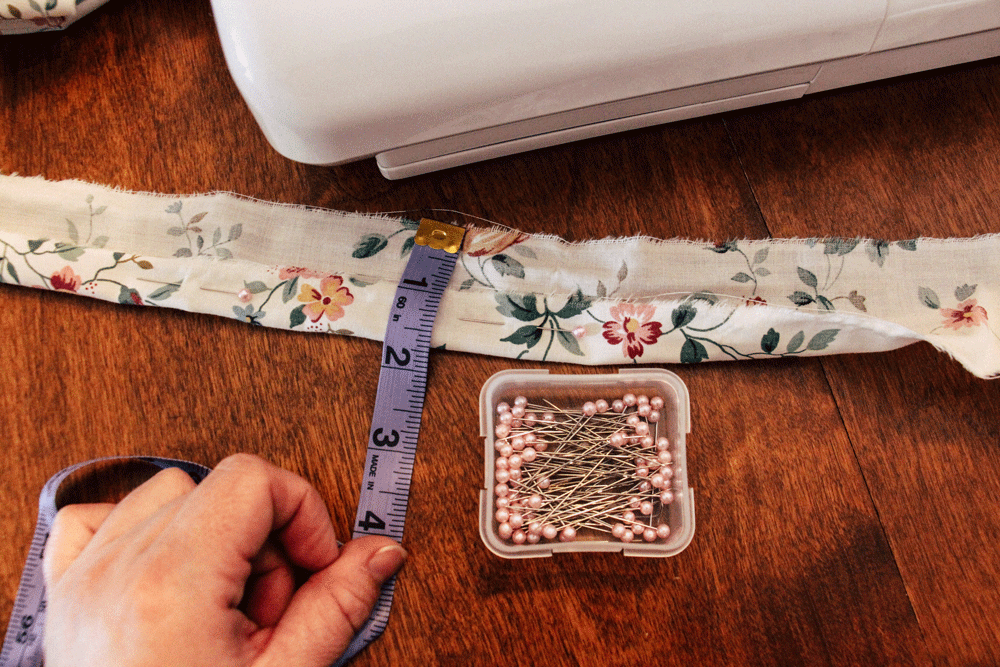
B:
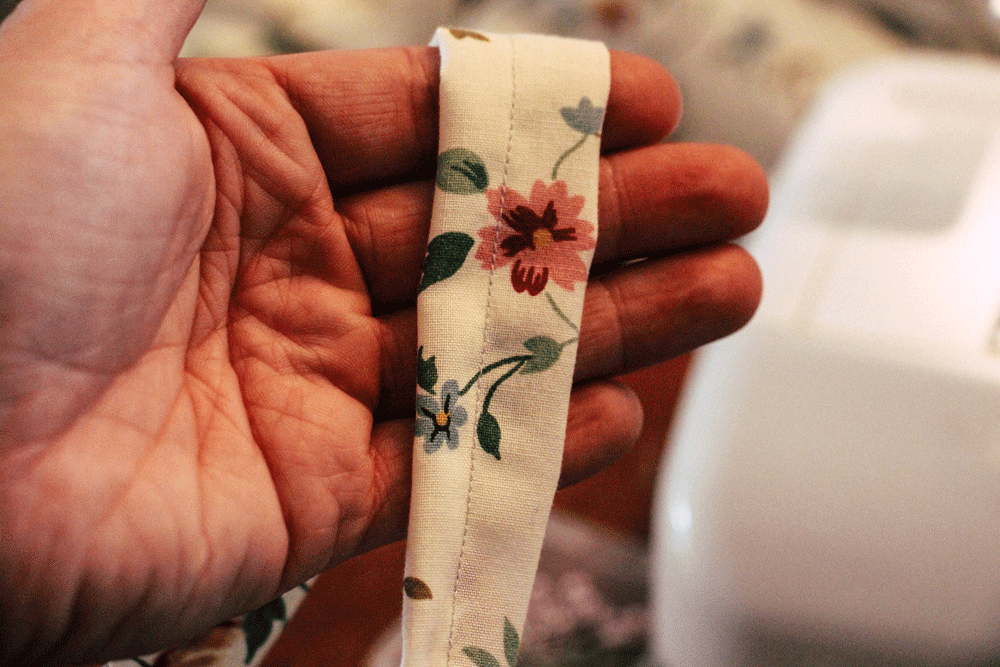
For the strap width: I wanted 1” wide straps once finished, but didn’t want them to only be the thickness of the sheet, which was very thin. I cut my strips 2½” wide, folding ¾” in on both sides to double up the material. I pinned down these folds and sewed ½” in to where the two sides met. The finished product is a seam just off of center.
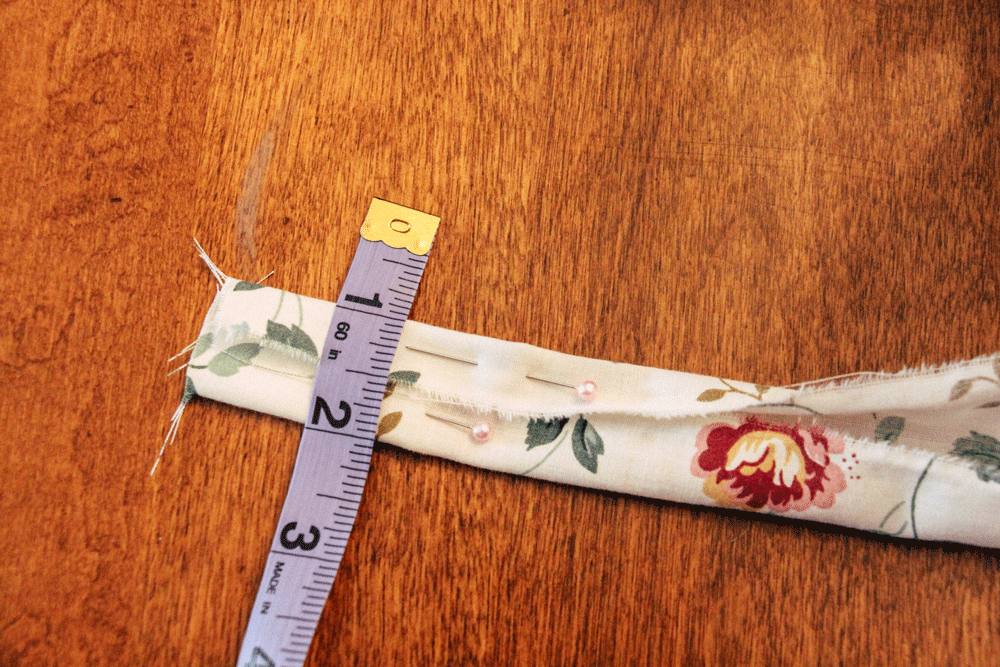
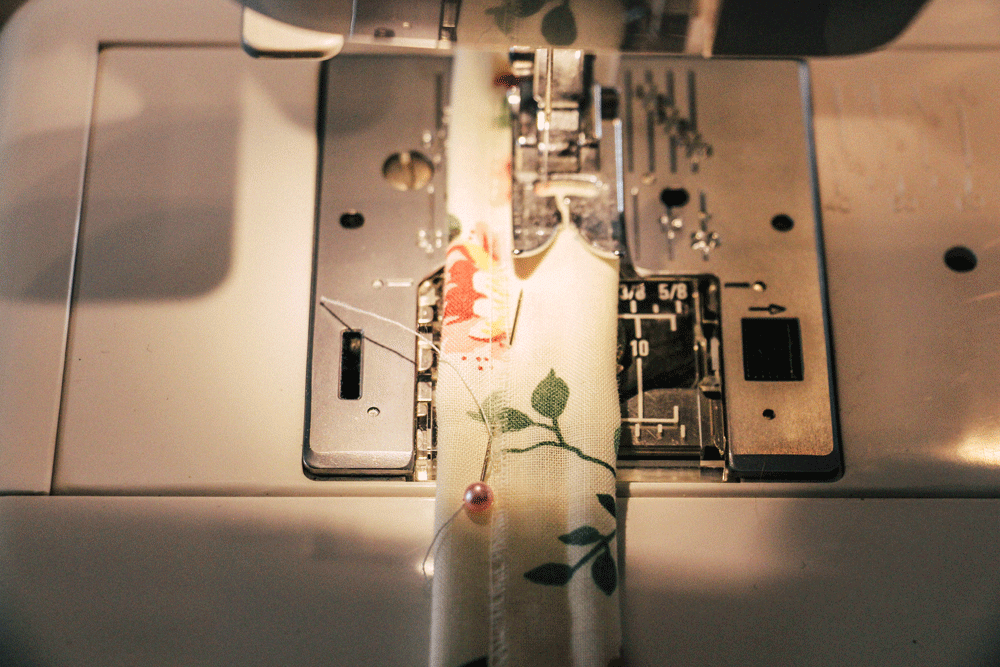
C:
Sew seams on the ends. Complete again for the second strap.
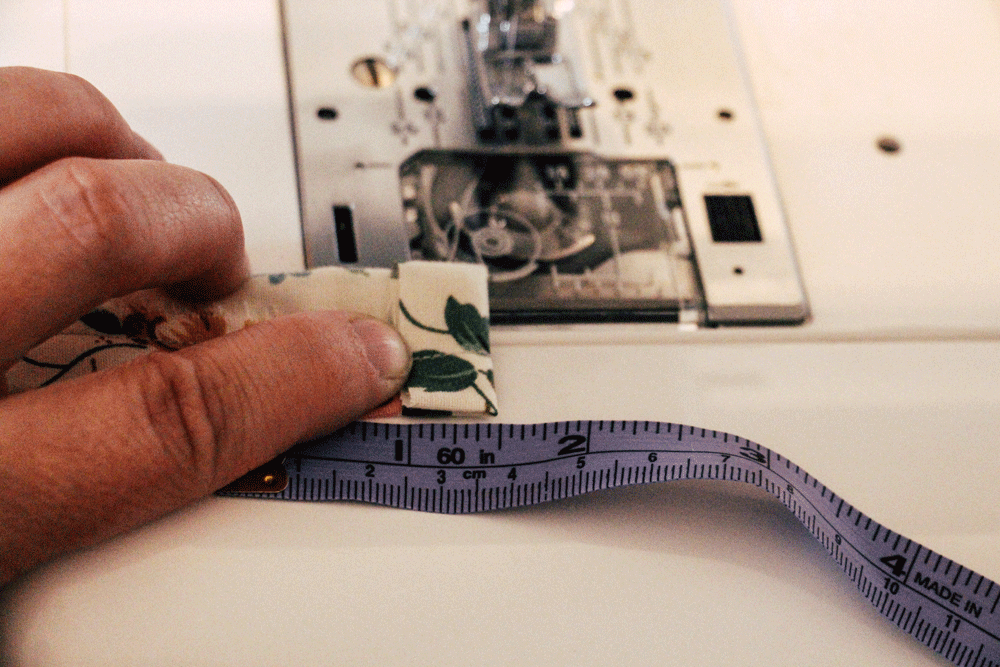
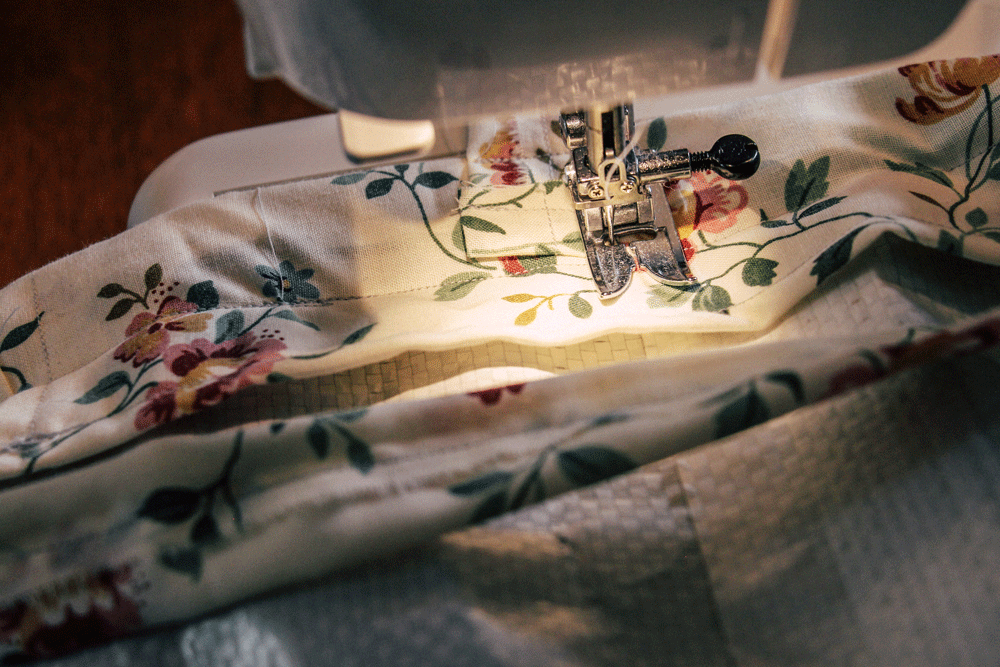
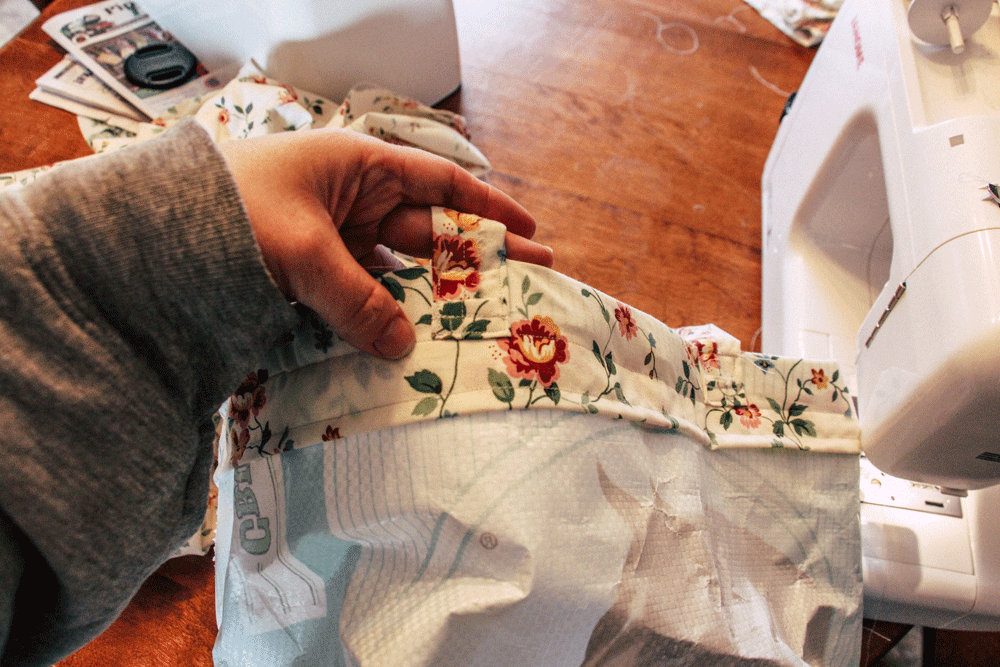
Step 15. Let’s get those straps sewn on! I prefer to have my straps sewn on the inside of my bag, however I have seen many sew them to the outside. Choose which method you prefer, choose your strap placement, and sew straps in, one side at a time. I personally sewed my straps 7” apart (from center of strap to center of strap), and 1” into the bag on the inside. For added support I sewed two passes around my straps in a rectangle. If you would like to add even more support, sew an “X” through the center of your straps as well.
Step 16.
Clip any loose string ends, flip your tote inside out, and admire your work!
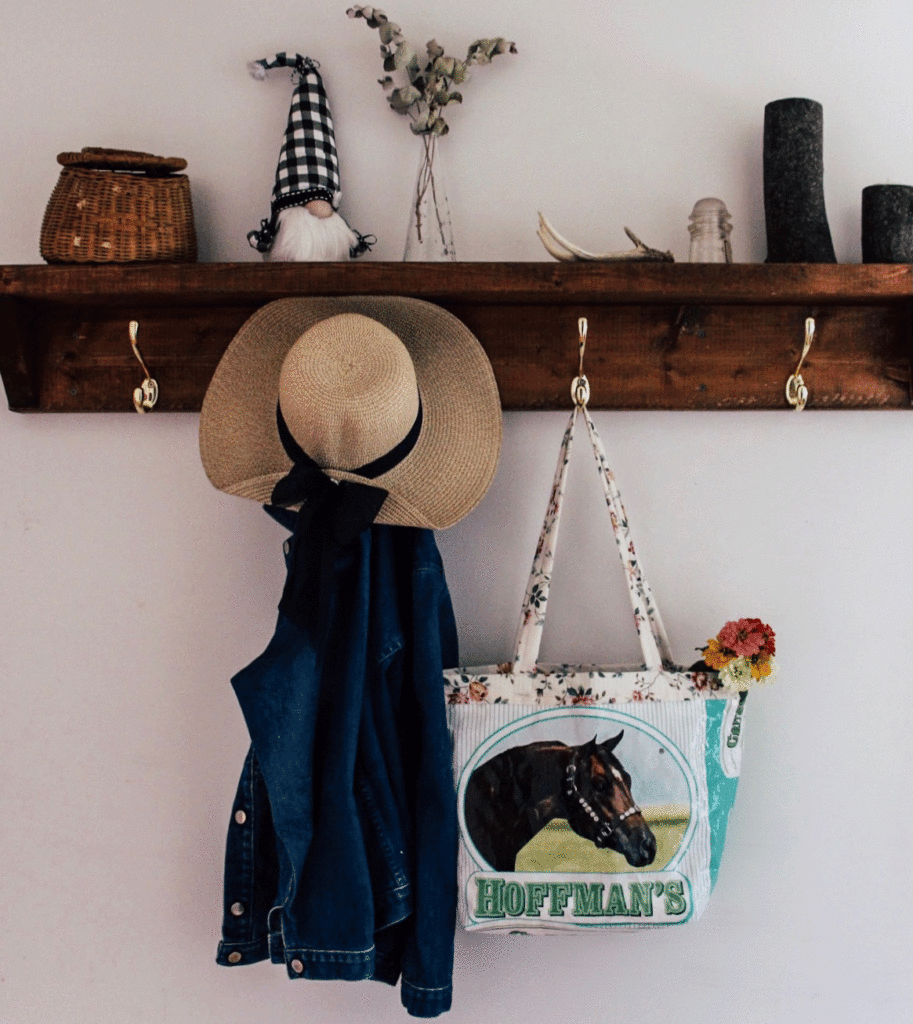
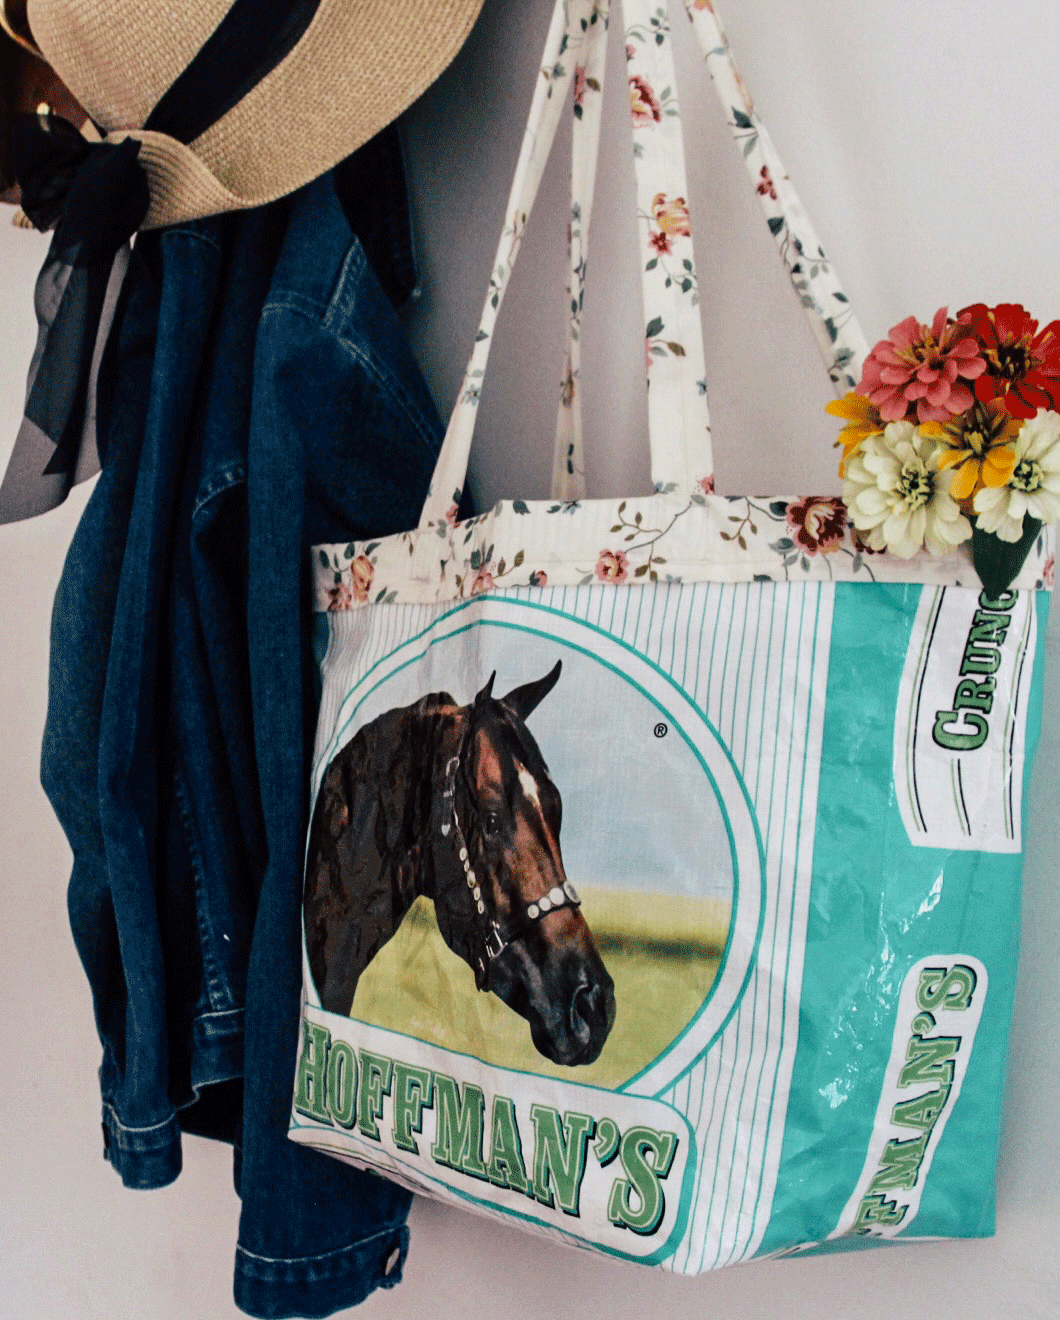
If you make your own feed sack – please share a picture of it in the comments or tag us on instagram @trailblazherco. We would LOVE to see it!
-Vanessa
February 17, 2022
© 2025 Trailblazher Co. All Rights Reserved.
Legal