

Easy Homemade Cheese From Store Bought Milk

Vanessa Wrubleski was born and raised in a city, and started living a rural life eight years ago with her husband. Since then she has jumped into the rural lifestyle and self-sufficient living head first. Between sheep farming with her father in-law, to canning, welding, and of course gardening, there isn’t much Wrubleski doesn’t do on the farm. Wrubleski now teaches other women that it doesn’t matter where you live, you can grow your own food and be a modern homesteader; you just have to be Rural At Heart.
Making cheese at home is surprisingly easy, and you don’t need a farm or special milk to do it! In this post, Vanessa walks us through the steps to make this easy homemade cheese from store bought milk. Covering which milk to choose, what simple ingredients you need like rennet and calcium chloride, and how to pick the right salt. With some basic kitchen tools and whole milk, you’ll be ready to create your own tasty mozzarella.
How to Make Homemade Cheese From Store bought Milk
Whether you live on a big farm and have zero desire to own a cow, live on an acreage and aren’t properly zoned, or you’re living in the city and pining for the simpler life, I have good news for you – you CAN make your own cheeses with store bought milk. It is a common misconception that you need access to raw milk in order to make your own cheeses. Is raw milk a beautiful super food, teeming with good bacterias, fatty acids, amino acids, and vitamins and minerals? Absolutely. But the reality of it is that a low percentage of average households have a milk cow of their own, or access to raw milk; and in many states and provinces, selling raw milk is even illegal!
Here’s the reality – you can make cheese with milk you purchase in the store. So head to your local grocery store, face those glass doors, and consider the following helpful tips before you buy:
Milk Type: Cow’s milk, goat milk, nut milk, oat milk, the list goes on. In this article, I will only be referencing cow’s milk. I personally have no experience using anything else in cheese making, but I urge you to experiment!
Pasteurisation: This word simply means the milk is no longer raw, it has been held at a certain temperature for a certain period of time. Options in this category include: low, standard, and ultra high temp pasteurization. You want to reach for the low or standard temp pasteurized milk; the ultra high temperature in UHT milk has denatured the protein (called casein) in the milk, and the curd will not form properly.
Fat Content: Whole milk, 2%, 1% or skim. Using whole milk will give you a higher yield and better flavor, while 2%, 1% or skim milk will give you lower yield and a drier end product – this is due to the amount of butterfat in the milk.
Homogenization: Homogenization is a process in which the cream in the milk is broken up into tiny little portions so that it evenly disperses throughout the milk. If you have the choice of non-homogenised milk (sometimes called cream-top milk), choose it. That being said, I’ve always used homogenized myself.

Ingredients
Rennet: Rennet is an ingredient that is necessary for making almost all cheeses, except for a few. It is a complex set of enzymes used to coagulate your milk and form the curd, and is found naturally in the stomachs of ruminant animals. Rennet is available both as “animal rennet” or “vegetable rennet”. Note: animals are not harvested specifically for rennet, it is extracted when animals are butchered for food as an effort to make use of the whole animal. Vegetable rennet is a highly effective vegetarian option made from plants like thistle, nettle, and figs. I have used both and so far have preferred the animal rennet.
Calcium Chloride: Calcium chloride is a non-negotiable ingredient when making cheese from store bought milk. It is used to restore the calcium balance of milk, as well as to aid in coagulation. You will notice some recipes call for calcium chloride even if the recipe is intended to be made with raw milk, and this is simply to cover any imbalances due to the animal’s diet or its lactation stage at the time of milking.
Citric Acid: Citric acid is an ingredient that is not used in all cheese making, but is used in cheeses like mozzarella, ricotta, mascarpone, paneer, and more. Citric acid raises the acidity level of the milk, and without going into a lot of science, it gives mozzarella its stretch factor.
Cheese Salt: Cheese salt, simply put, is non-iodized salt. Iodized salt inhibits bacterial growth, which believe it or not, is essential to cheese making. I use either kosher salt or Redmond Real Salt.
Cultures: Some cheeses require a culture. There are multiple different types of cultures for different types of cheeses, too many to get into here, but it is imperative you follow your recipe closely. The cheese we will make together is mozzarella, and it does not require a culture.
Whole Milk: We will be using whole milk, this will give you a higher yield and better flavor due to the amount of butterfat in the milk.
Equipment
- A large pot, with a lidA slotted spoon
- A long knife
- Cheese cloth, or flour sack towel, or fine mesh sieve – A quick-read thermometer
- A mold of desired shape and size (though we won’t use this – today), you can often use containers you already have in the kitchen
- And if you are making hard cheeses, a press. Psst, you can make one at home, you don’t need to spend hundreds of dollars!
Homemade Cheese From Store Bought Milk
Learn how to make your own cheese using store-bought whole milk.
Ingredients
- 1 gallon whole milk
- 1-1⁄2 tsp citric acid, diluted in 1 cup cool unchlorinated water
- 1 tbsp cheese salt
- 1⁄2 tsp rennet, diluted in 1⁄4 cup cool unchlorinated water
Instructions
- Sanitize your space, utensils, and equipment.
- Dilute your citric acid in water, stirring well to ensure the citric acid is fully dissolved. Pour the solution into a large pot.
- Dilute your rennet in water, stirring well to combine. Set aside.
- Pour your milk into the pot, and stir to thoroughly combine.
- Over medium-low heat, bring your milk to 90°F, or 32°C. Remove from heat.
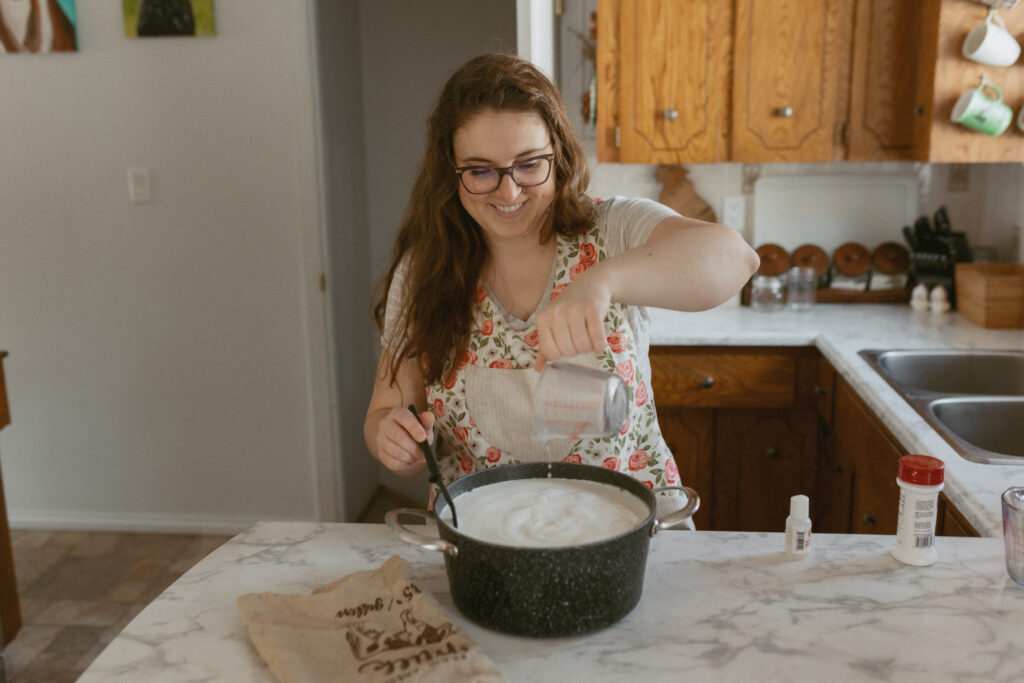
- Pour in the rennet solution all at once, and stir in an up and down motion for 30 seconds to thoroughly combine.
- Cover and let sit for approximately 15 minutes, or until the curd pulls away from the side of the pot when touched with a utensil, and the whey is clear. This is called a curd with a clean break. If your curd is still soft or the whey appears milky, replace the cover and let sit an additional 10-15 minutes.
- Cut the curd in a 1” checkerboard pattern. Place the pot back on the stove over medium-low heat, and heat the curds to 105°F (40.5°C), occasionally gently stirring the curds.
- Remove the pot from the burner and replace the cover and let sit for 5 minutes. After this time, you will notice the curds have shrunk.
- With a slotted spoon, scoop curds into a fine mesh sieve, or bowl lined with a cheese cloth or flour sack towel.
- Place the pot of whey on the stove, and begin heating on medium-high heat, meanwhile gently pressing the curd to remove some of the excess whey.
- Remove the pot of whey from the stove, and sprinkle the salt into the whey. Transfer the curds back into the heated pot, allowing them to reheat through for a minute or two.
- Put on your gloves, and begin gathering and working the curds, replacing them back into the hot whey every 45 seconds or so to heat through.
- Continue this process until the curd has formed a single mass and is stretchable. If while stretching you notice your cheese start to tear, simply place it back into the hot whey to heat through again.
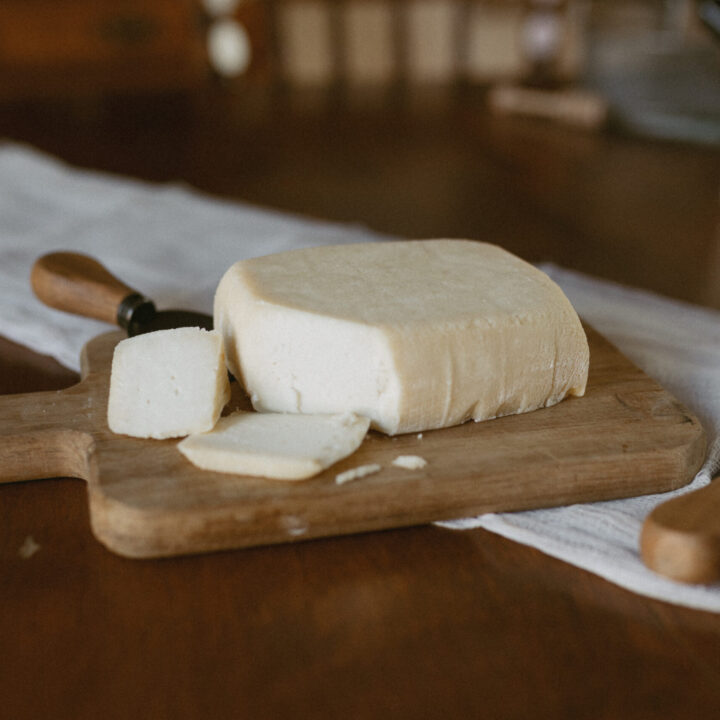
- Continue to stretch your cheese until it is smooth and shiny, then shape in a ball. Store in a glass jar, ladling in whey to cover the cheese ball. This cheese can be stored in the fridge for up to 4 days.
Notes
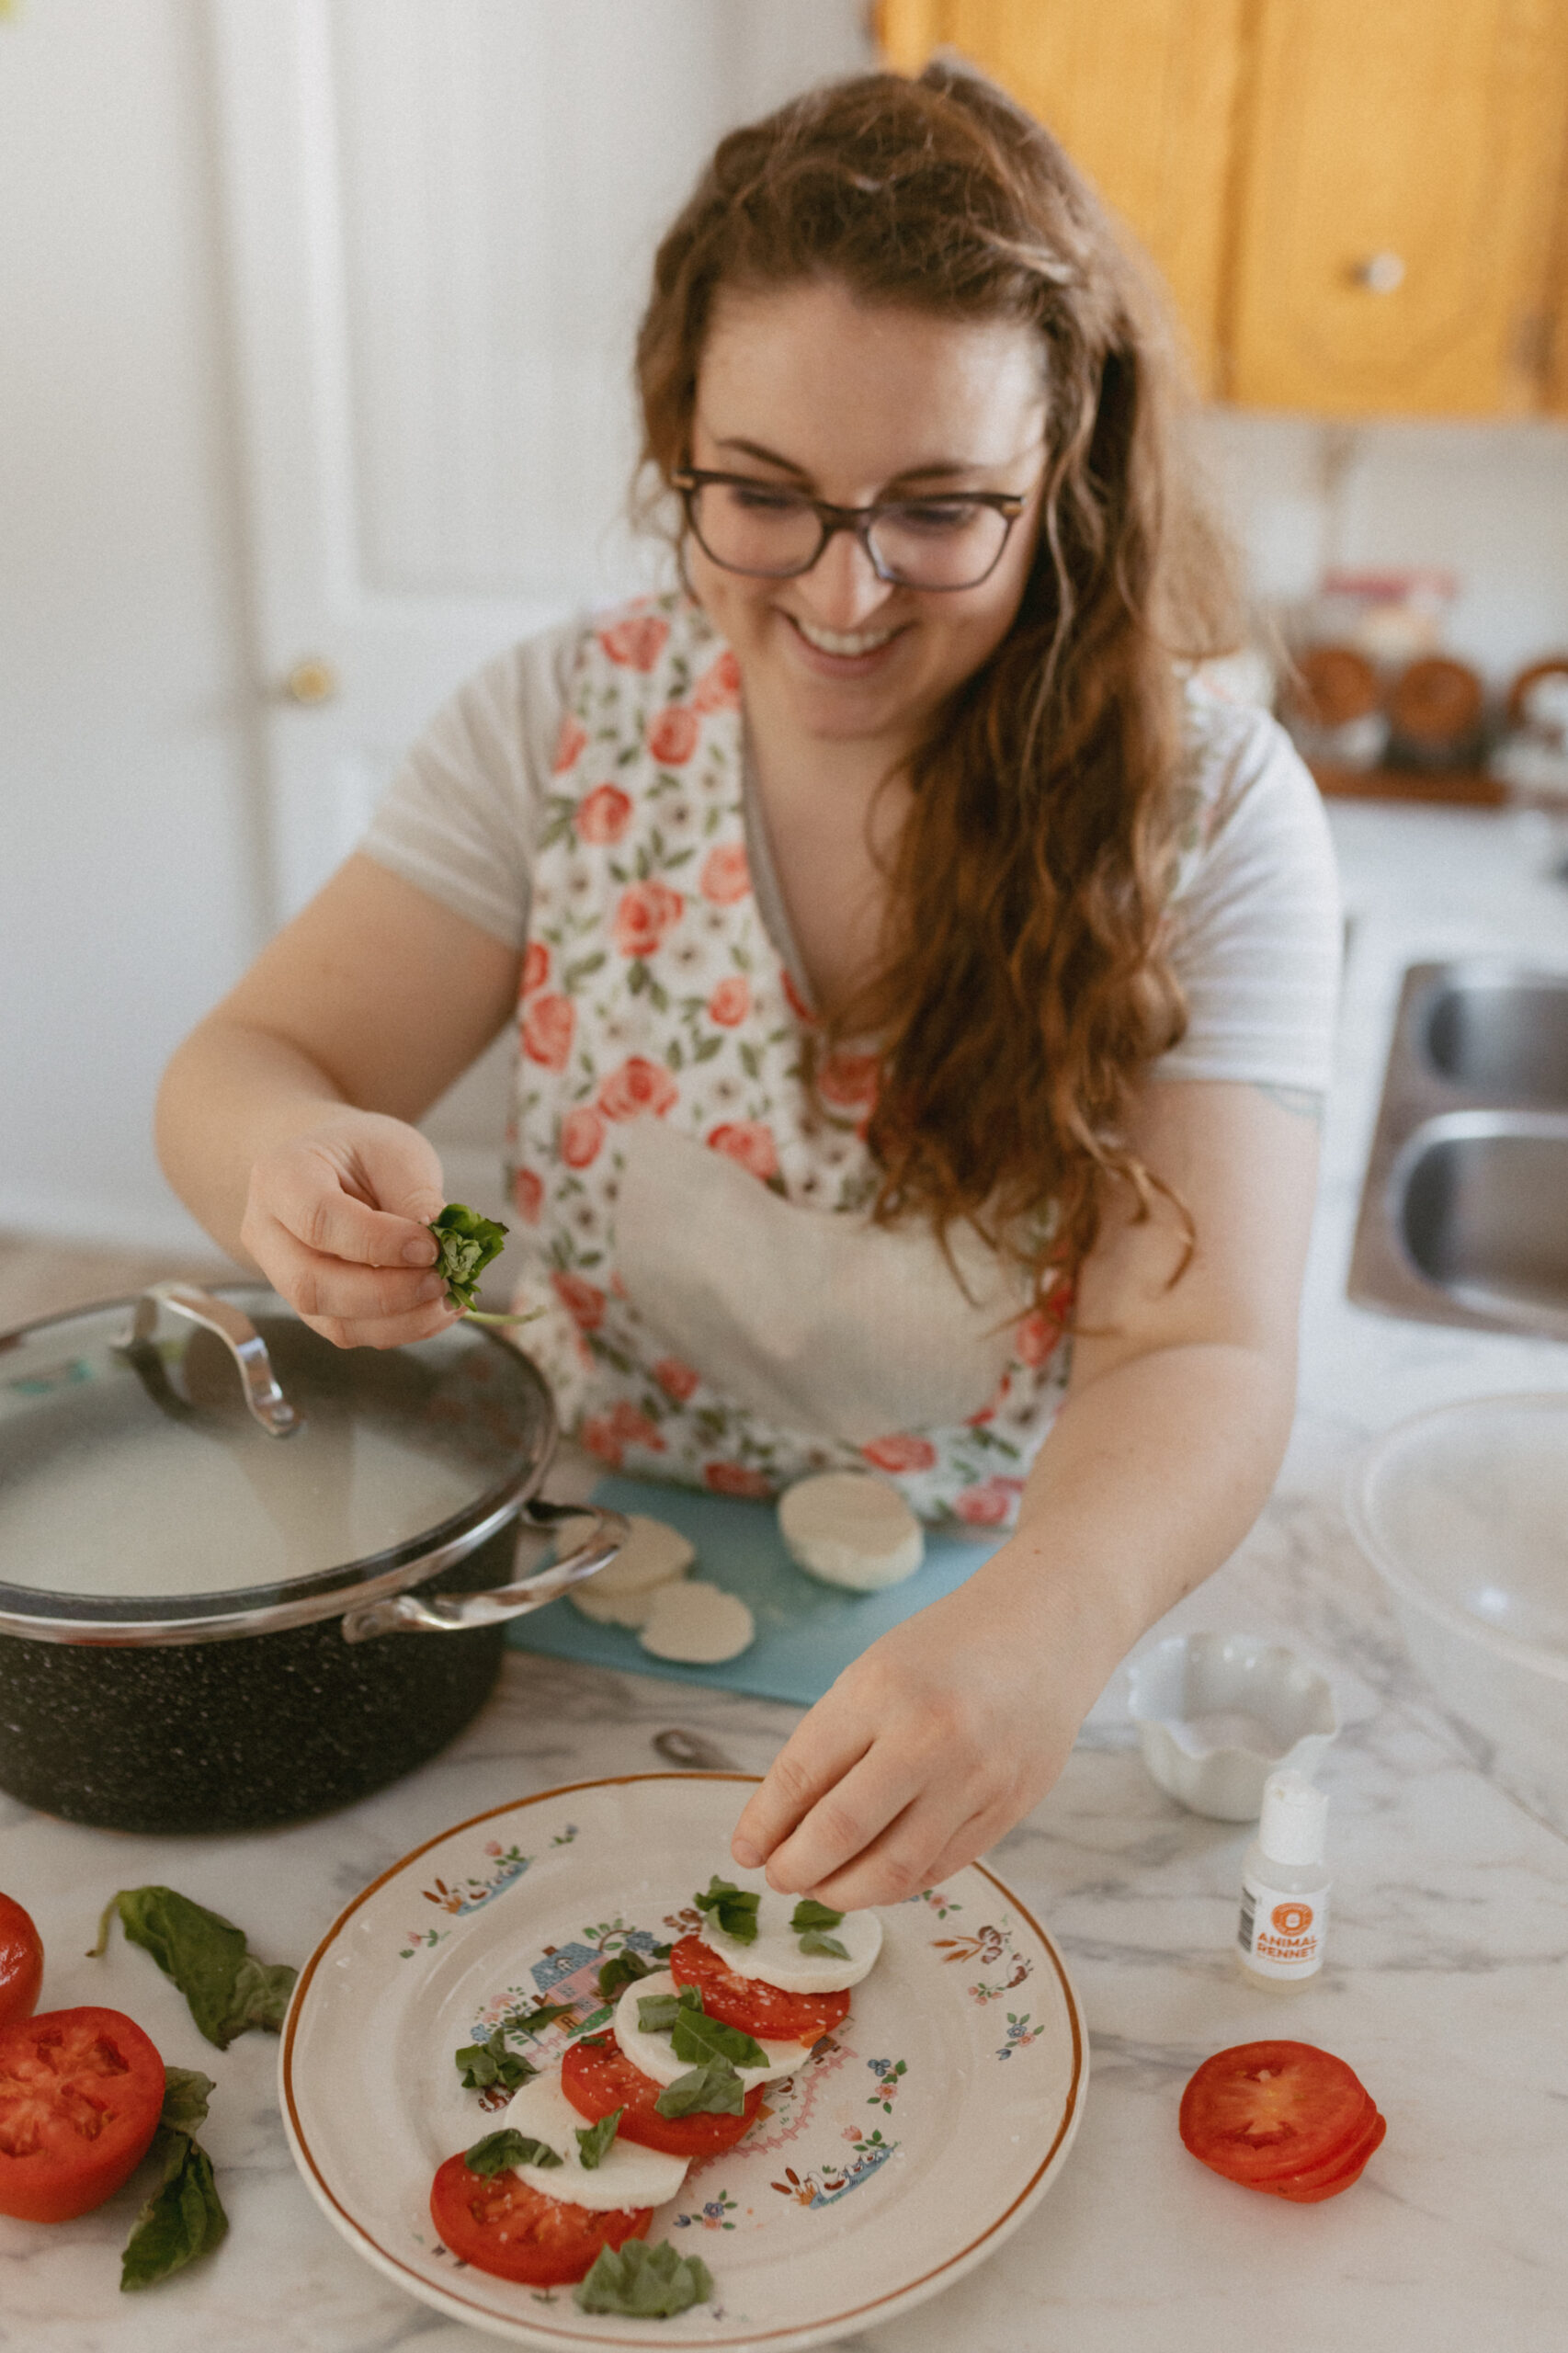
Enjoy your fresh mozzarella sliced atop pizza, caprese salad, or in homemade mozzarella sticks! I always like to add a good sprinkle of large flaked sea salt on top of my fresh mozzarella when serving.
More Recipes

February 5, 2024
Keep Reading
next post
previous post


© 2025 Trailblazher Co. All Rights Reserved.
Legal