

DIY Holiday Urns
Written and Photographed By
Kayla Adams
Oats and Honey Homestead
@oatsandhoneyhomestead
www.oatsandhoneyhomestead.ca
Carthage, Ontario
From our Trailblazher Holiday Gift Guide
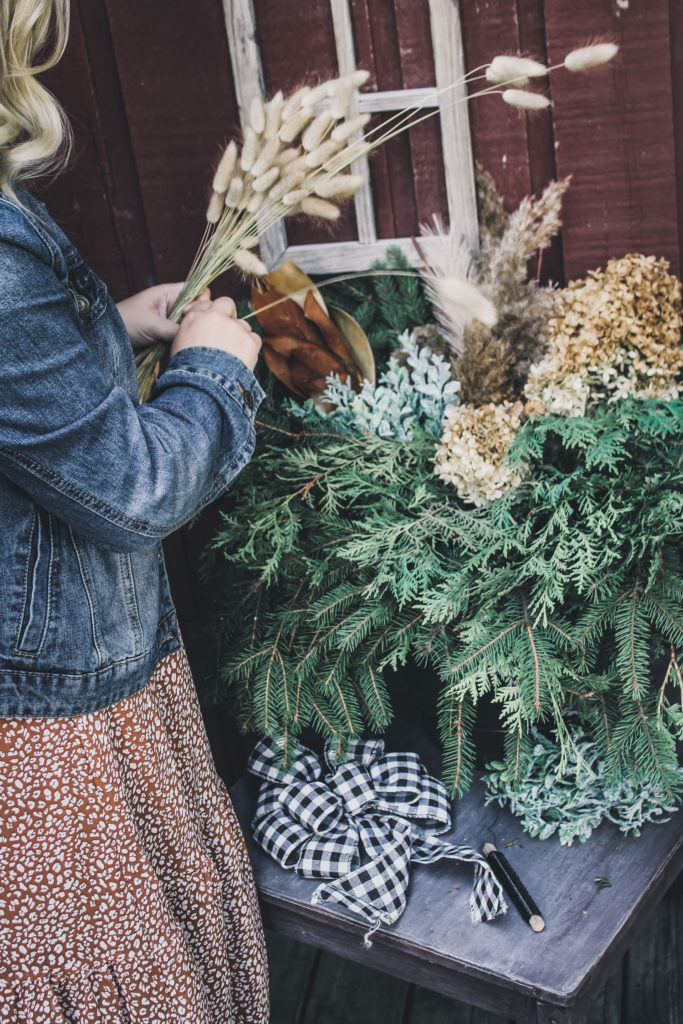
Growing up one of my favourite activities during the holiday season was going out to the bush to cut greenery for whimsical planters that my mom would make. I’ve continued the tradition with my own family now.
It’s the perfect opportunity to get outdoors and enjoy some nature.
You’ll need to find a forest that you have permission to cut from to begin with.


You’ll need sharp clippers for the easy to snip pieces. Or a a chainsaw and someone who can operate it, for the large branches.
Something to put the greenery into is also essential. A wheelbarrow works or garbage bags if you have to transport them by car.
Depending on your location, look for the following:
Evergreens
Pine
Balsam
Cedar
Blue spruce
Dogwood twigs
Burch branches
For one planter you’ll need around 20 branches, that you’ll cut down into smaller pieces to fill the planter. Long branches are easier to arrange so try to keep the branches long for now.
Other things you may consider collecting to add to your holiday urns:
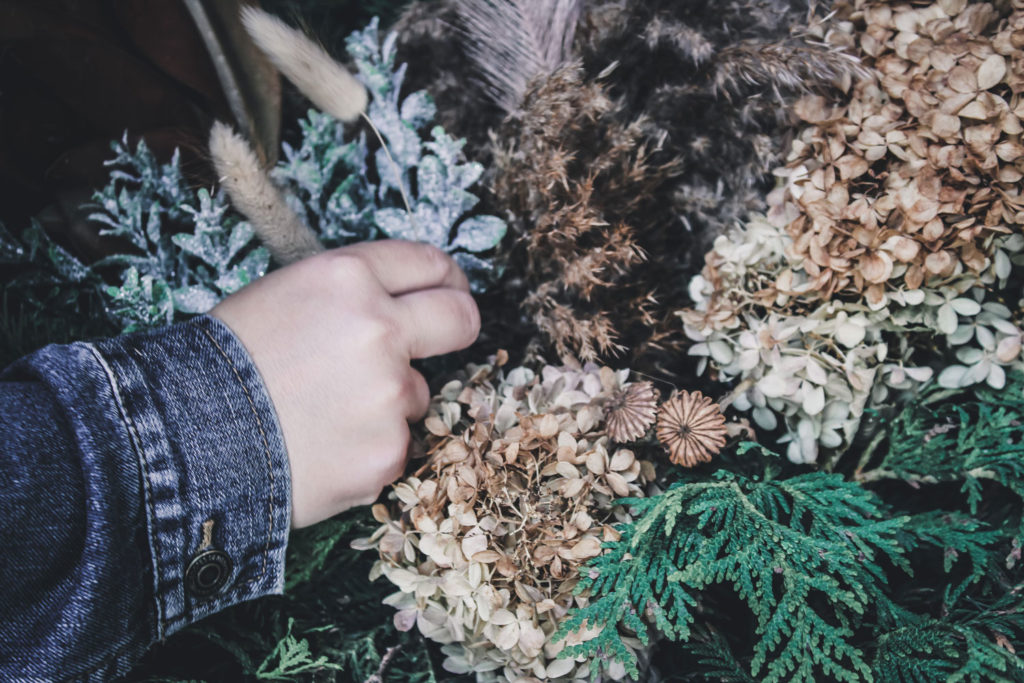
Dried hydrangea, strawflowers, eucalyptus and poppy heads
Magnolia leaves
Holiday balls
Pre-made decorations
Ribbon
Pampas grass
Pine cones
Decorative berries
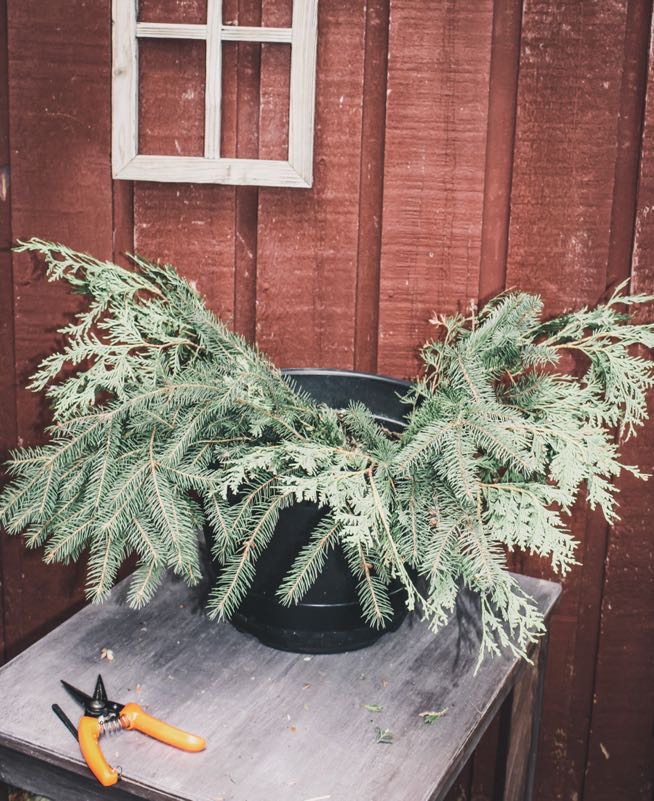
Once you’re home, you’ll want to collect everything else for the project. I create mine outdoors as the clippings can make a mess.
The following will be needed:
A planter pot
Soil to fill it with
Crafting wire
Sharp scissors
Greenery
Extra decorations
To begin, pack your pot full of soil. If you want your planter to be inside friendly, you can use floral foam as well.
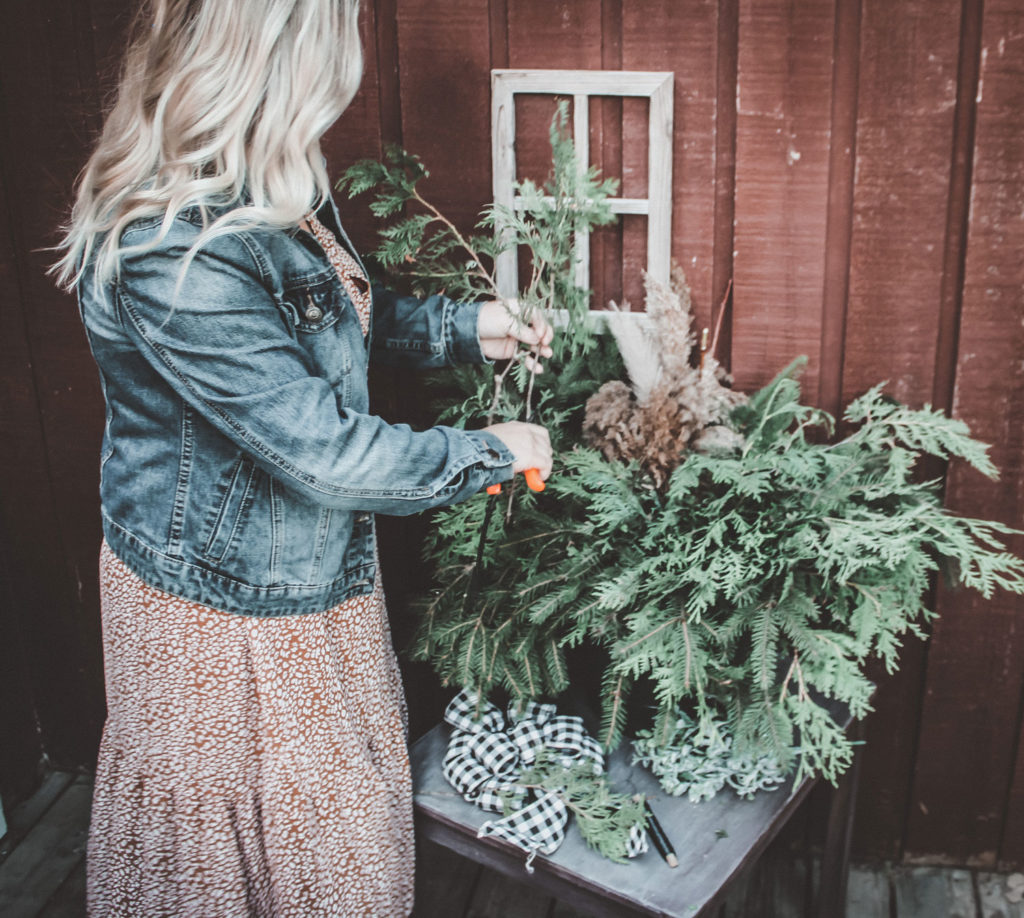
Start with larger greenery in the back, fanning outwards like a skirt. Push the branches and twigs down deep into the soil.
I added pampas grass and dogwood twigs in the back for height.
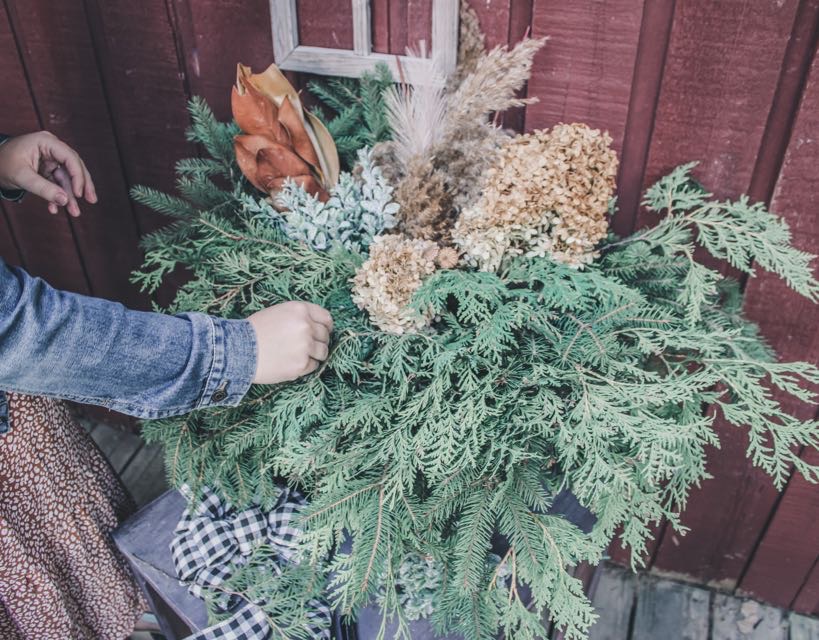
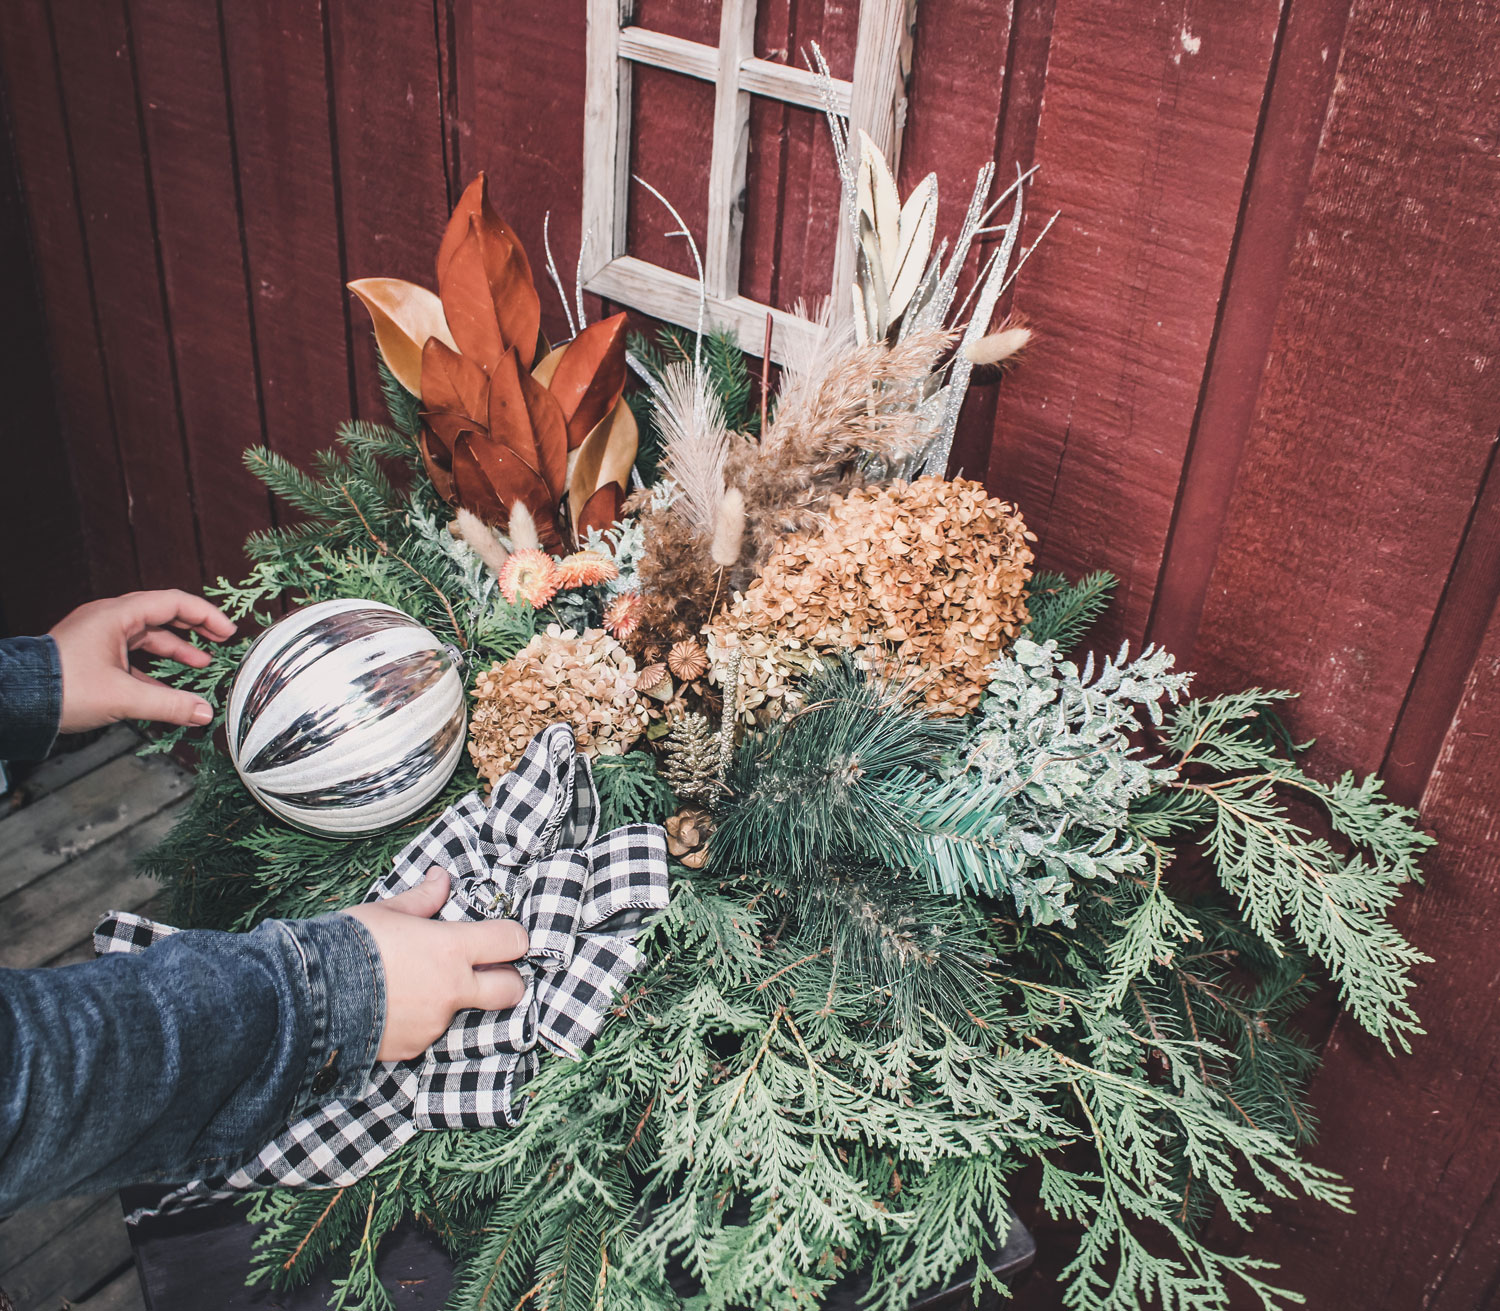
Continue to fill in spaces with greenery, add some facing all directions to get a full looking arrangement. Shaping it and adding as you go, be sure to step back and see how the shape looks. Make sure you leave room for your extra decorations.
I like to then add my magnolia leaves, pine cones and dried items next. These things add even more amazing textures to the arrangements.
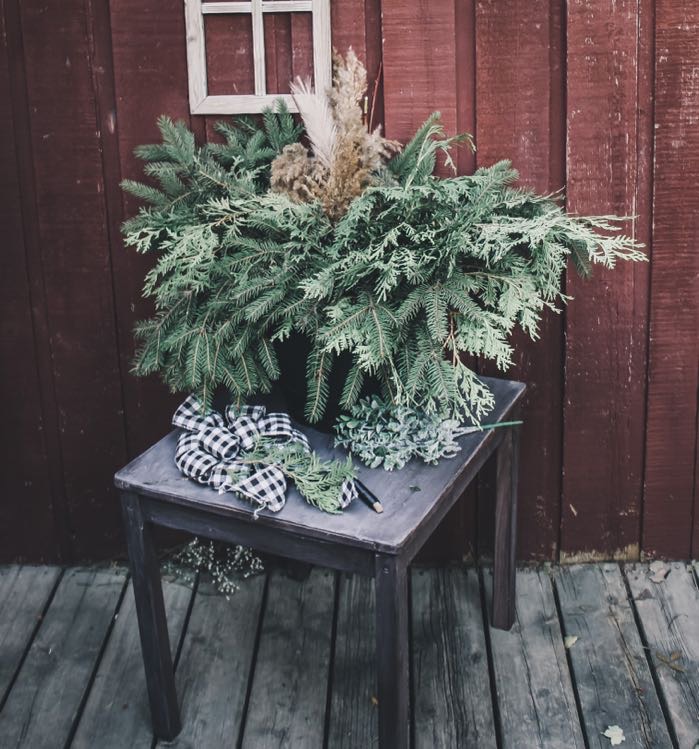
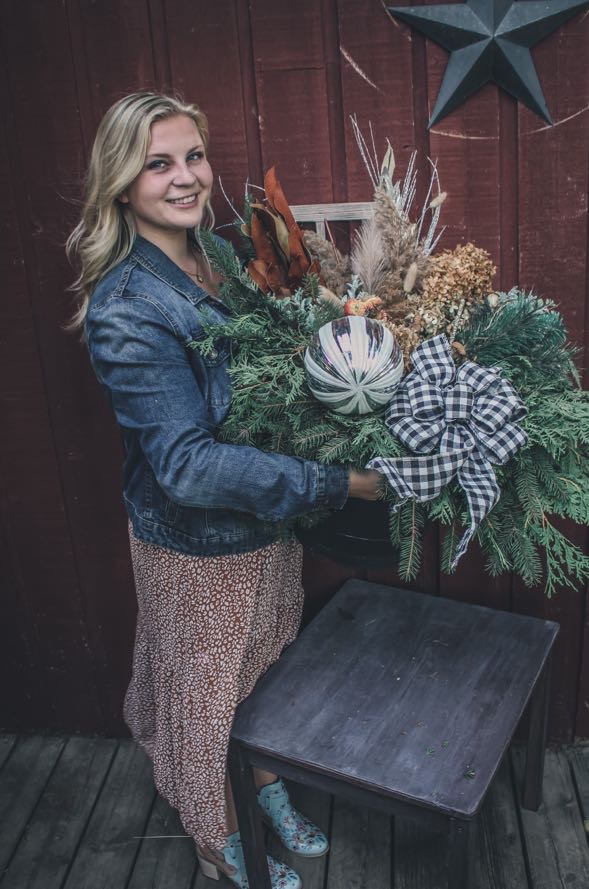
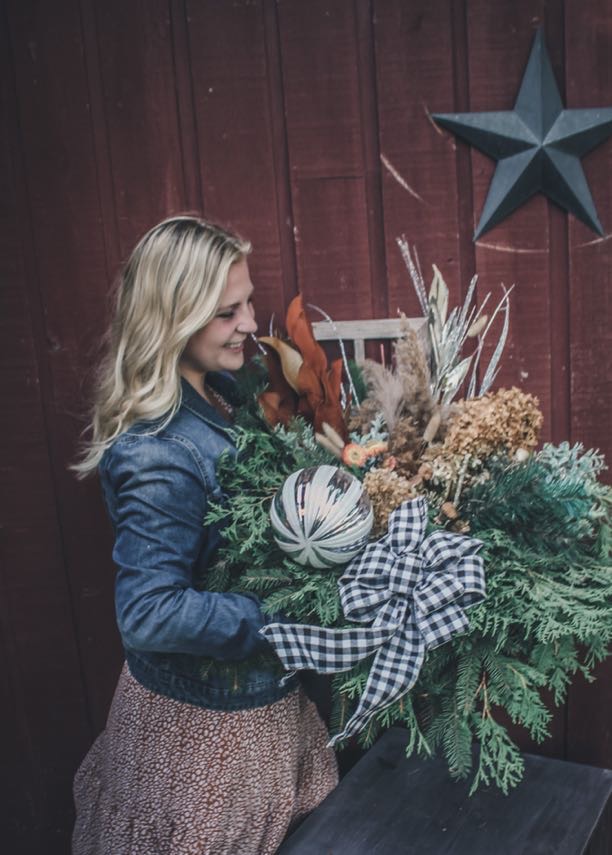
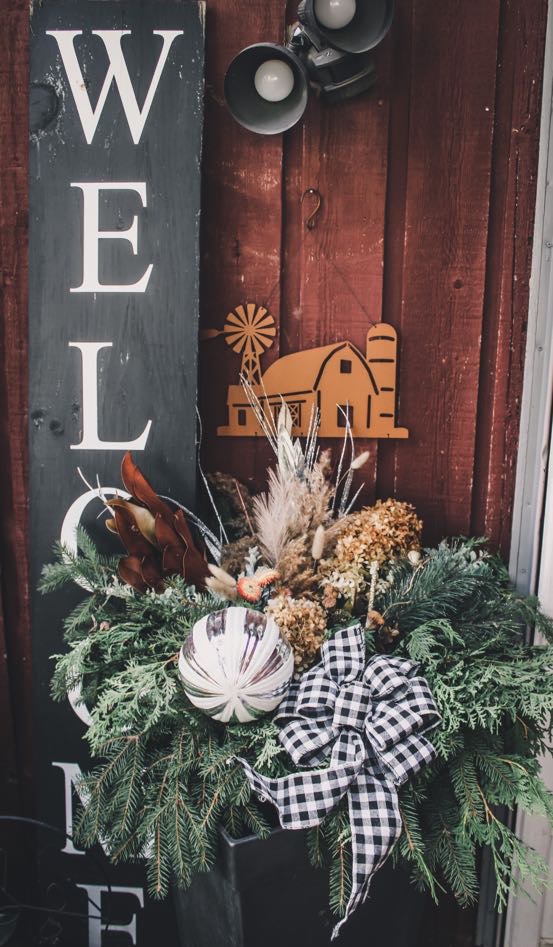
Your planter should be looking nice and full now! My finishing touches is some holiday decor.
Balls, ribbons, pine cones and pre-made decorations can be attached with crafting wire to the branches. Attach tightly to be sure nothing blows away in strong wind.
You can bring your arrangement indoors but remember the warm air will dry out the greenery much faster so you’ll need to water or mist it often. I leave mine outside all winter. In the spring, I deconstruct them, saving everything for the next holiday season in a large Rubbermaid bin. The greenery even makes a tasty treat for our goats.
Adding a bit of natural colour and textures to your decor, these planters are the perfect front door decor all through the winter.
If you are submitting a recipe, please include a short paragraph about why this recipe is special to you or what is the story behind it?
Like many recipes, this tradition has been passed down through our family. My mom would bring us kids out to the bush to cut down greenery every fall. She taught me so well and now I’m so excited to be able to pass that on.
-Kayla
Kayla is a self taught homesteader located in rural Ontario. She convinced her husband to get 4 laying hens in 2020. That has turned into 25 more. Plus goats, geese, quail, ducks and broiler chickens every summer. She recently began a mentorship to become a bee keeper. She loves do it yourself projects, being resourceful and thrifting. Kayla often finds herself working in her gardens, canning and cooking fresh food, as well as playing with her daughter. She is a Personal Support Worker by trade but finds the most joy in homesteading. She is always willing to try something new to benefit her farm.
December 15, 2022


© 2025 Trailblazher Co. All Rights Reserved.
Legal