

Pressed Pansy Shortbread & Vanilla Meringues
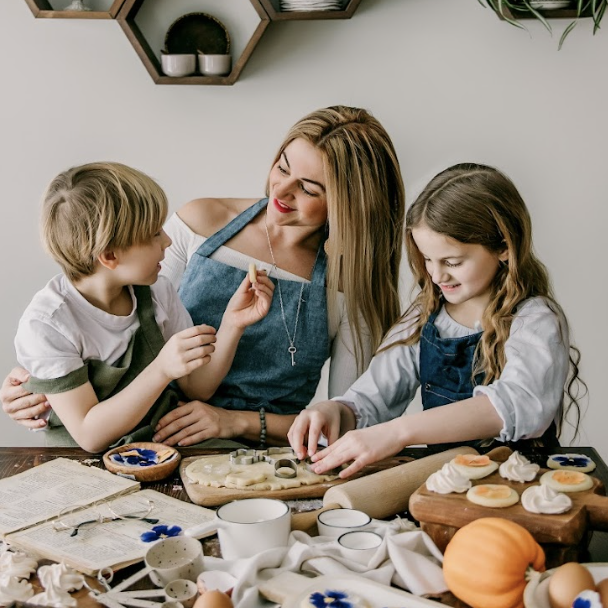
Robyn Chubey is a mama, wife, and creator behind Prairie Glow Acres. Chubey lives in East St. Paul, Manitoba, on Prairie View Acres, where she can comfortably grow more flowers, plants, and trees than what she knows what to do with! Her days are spent sharing her lifestyle on her farm’s social media accounts, and creating photography and content for large and small brands, writing online courses, and mentoring photographers, homeschooling her kids, flower farming, veggie gardening, and basically being an all around modern homemaker. Prairie Glow Acres
Pansies really signal the start of spring, don’t they? Robyn shared this lovely recipe in the Spring 2021 issue of Trailblazher Magazine – Pressed Pansy Shortbread & Vanilla Meringues. We thought it’d be nice to share it with you again, just to add a bit of spring flair to your baking. It’s a simple and beautiful way to celebrate the season!
All summer, my days are spent roaming around my gardens on our acreage, planting, tending, harvesting and spending time in my flower beds.
Come September, my flower-loving soul starts to cling to the last remaining blossoms in my gardens, and when I know a hard frost is coming I’ll head out to collect a selection for drying so I can enjoy them throughout the year, especially in the spring.
Some of the easiest and most beautiful blossoms to dry are pansies. If dried properly (I use a Microfleur Press to do mine) they remain absolutely flawless, almost like they’re somehow still alive, for years. But my favourite thing about these stunning dried blossoms is that they’re edible.
Once dry, I gently stack the paper-thin blooms in an airtight container, tuck them away in a cupboard, and forget about them until I can’t bear to wait another moment for spring. When that day comes, it’s time to pull them out and get to baking!

There’s something magical about the smell of vanilla wafting through the kitchen as you set out a spread of spring-
blossom-adorned cookies, before you’re even ready to plant your garden after winter. These delicate reminders of last year’s garden become a wonderful treat to tide you over until this year’s blooms arrive.
All About Pressed Pansy Shortbread & Vanilla Meringues
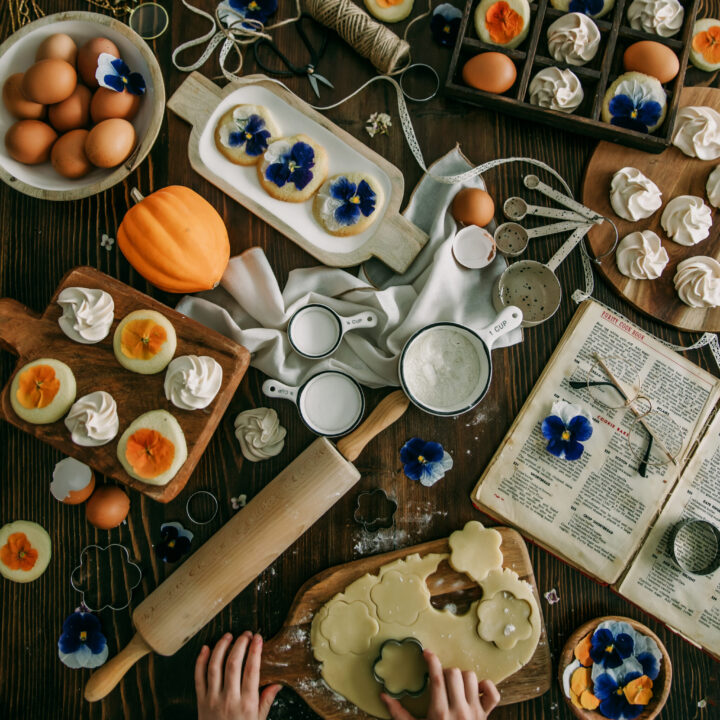
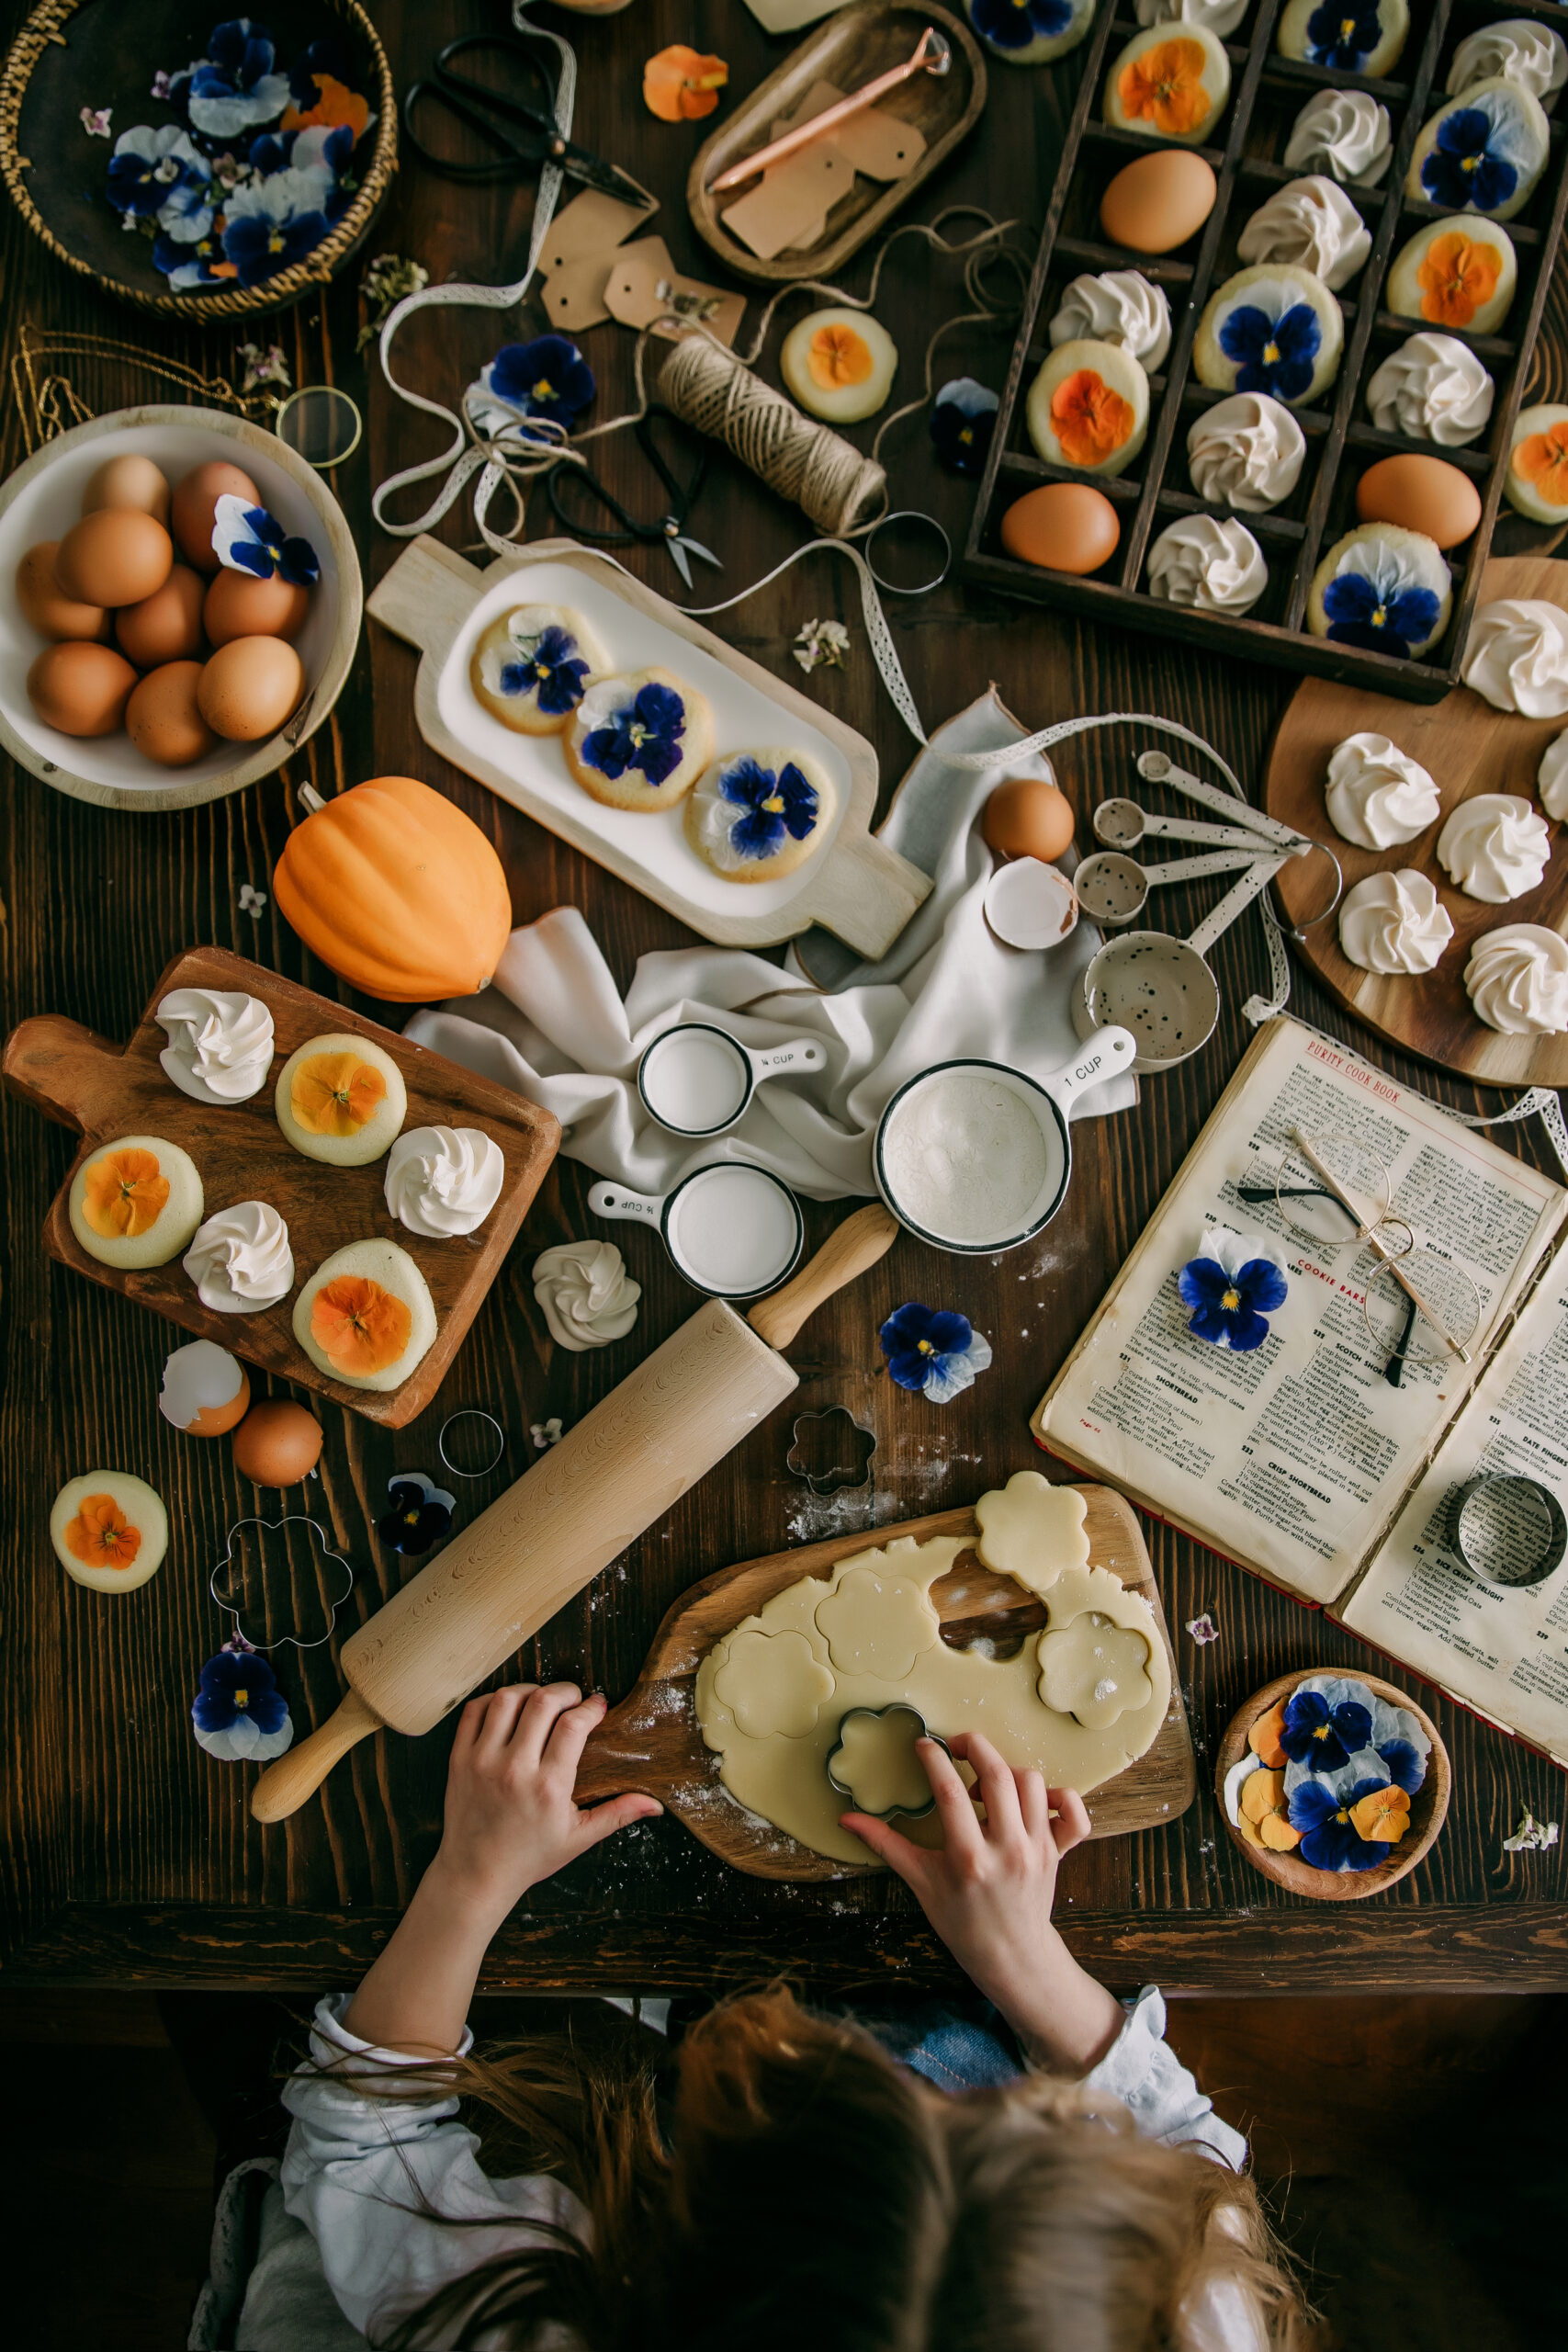
My recipe of choice is a simple shortbread cookie, adapted from my grandmother’s Purity Flour cookbook, which has been in our family since 1945. This recipe is moist, buttery, and a perfect complement to any homemade jam filling – if you dare to take two cookies, spread a thin layer on one, and sandwich them together. This is my family’s favourite way to eat them!
Adhering the pansies to the cookies is simple. Upon taking them out of the oven, immediately lay one pansy on top of each cookie, and then go around and gently press them down flat. With this technique, they soften beautifully, stick to the cookie, and lose none of their vibrancy.
Because they become one with the cookie there is no taste to them, only the feeling of eating something delightfully luxe and lovely. They’re what I imagine fairies would eat at a tea party, and my daughter agrees!
Recipe from: Spring 2021 Issue #2
More Recipes You Might Like
Pressed Pansey Shortbread Cookies
Learn how to make these pressed pansey shortbread cookies.
Ingredients
- 1 cup (two sticks) salted butter, very soft 3/4 cup of granulated sugar
- 1 large egg
- 1 tsp of vanilla
- 2 cups all-purpose flour 1/4 teaspoon baking soda
- Dried pansies
Instructions
- Preheat your oven to 350 F on convection.
- In a mixing bowl (using a mixer or by hand), blend together the butter and sugar, add in the egg and vanilla until well mixed, then slowly add the flower (on medium low) until fully combined.
- Chill your dough for 2 or more hours, then roll out on a lightly floured surface to 1/4 inch thick and use a cookie cutter to cut rounds the size of your pansies.
- Bake for 8-15 minutes depending on size, removing the cookies from the oven when you see golden edges appearing.
- Apply pansies immediately, press to secure them to the cookies, and leave half the batch with no pansies if you wish to sandwich with jam.
Notes
And if you’re really feeling generous, these cookies make an “ah-inspiring” gift!

Pressed Pansy Vanilla Meringues
Learn how to make these pressed pansy vanilla meringues, perfect for spring!
Ingredients
- 4 large egg whites at room temperature 1/2 tsp cream of tartar
- 1⁄8 tsp salt
- 1 cup granulated sugar
- 1 tsp vanilla extract
- pressed pansies
Instructions
- Using a stand mixer or hand mixer (with either the whisk or paddle attachment), stir on low speed until the mixture becomes foamy.
- Increase speed to high.
- With your mixer on high, gradually add your sugar a couple tablespoons at a time, stirring after each addition until the sugar is dissolved (15-20 seconds).
- Beat until mixture is thick, shiny, and has grown in volume. The mixture should have stiff peaks and the sugar should be completely dissolved (you can test this by rubbing a small bit of the mixture between your fingers, if it feels gritty, the sugar isn’t dissolved).
- Mix in vanilla extract.
- To pipe them onto the cookie sheet, you can get fancy like I love to do and create swirls with a piping bag and a large star tip, or you can snip the edge of a disposable piping bag for a “kiss” formation, or just use a spoon to “dollop” the batter onto your cookie sheet. The meringue cookies can be pretty close to each other as they won’t spread, and you will want to bake all of the cookies at the same time, so make sure you have enough space.
- Bake at 225 F (105 C) for 1 hour. Turn off the oven once the baking time has passed - but do not open the oven. Leave the oven door closed and allow cookies to cool completely in the oven (1-2 hours) before removing.
- Meringue cookies should be light and crisp. Store in an airtight container. Or just leave them on the table like I do until they’re all eaten!
Notes
- Degrease, clean, and dry anything you plan to use for your batter. Any moisture or oil can ruin your meringues.
- Crack your eggs in a separate bowl when separating the whites. Any bit of yolk can mess with your meringues, so use a small bowl to separate each egg first before adding it to your mixing bowl.
- Add the sugar gradually, a couple tablespoons at a time, and give that a chance to blend before adding more.
- Don’t stop mixing until you get stiff peaks. It will take at least 5 minutes of beating to achieve stiff peaks, but keep going. It will start to inflate and puff-up and be very thick and glossy — that’s what you’re looking for! It needs to be able to retain its shape like icing.
- Don’t over-beat your batter. Once you hit stiff peaks, stop so as not to over work the batter.
February 8, 2024
Keep Reading
next post
previous post


© 2025 Trailblazher Co. All Rights Reserved.
Legal