

Homestead Egg Apron
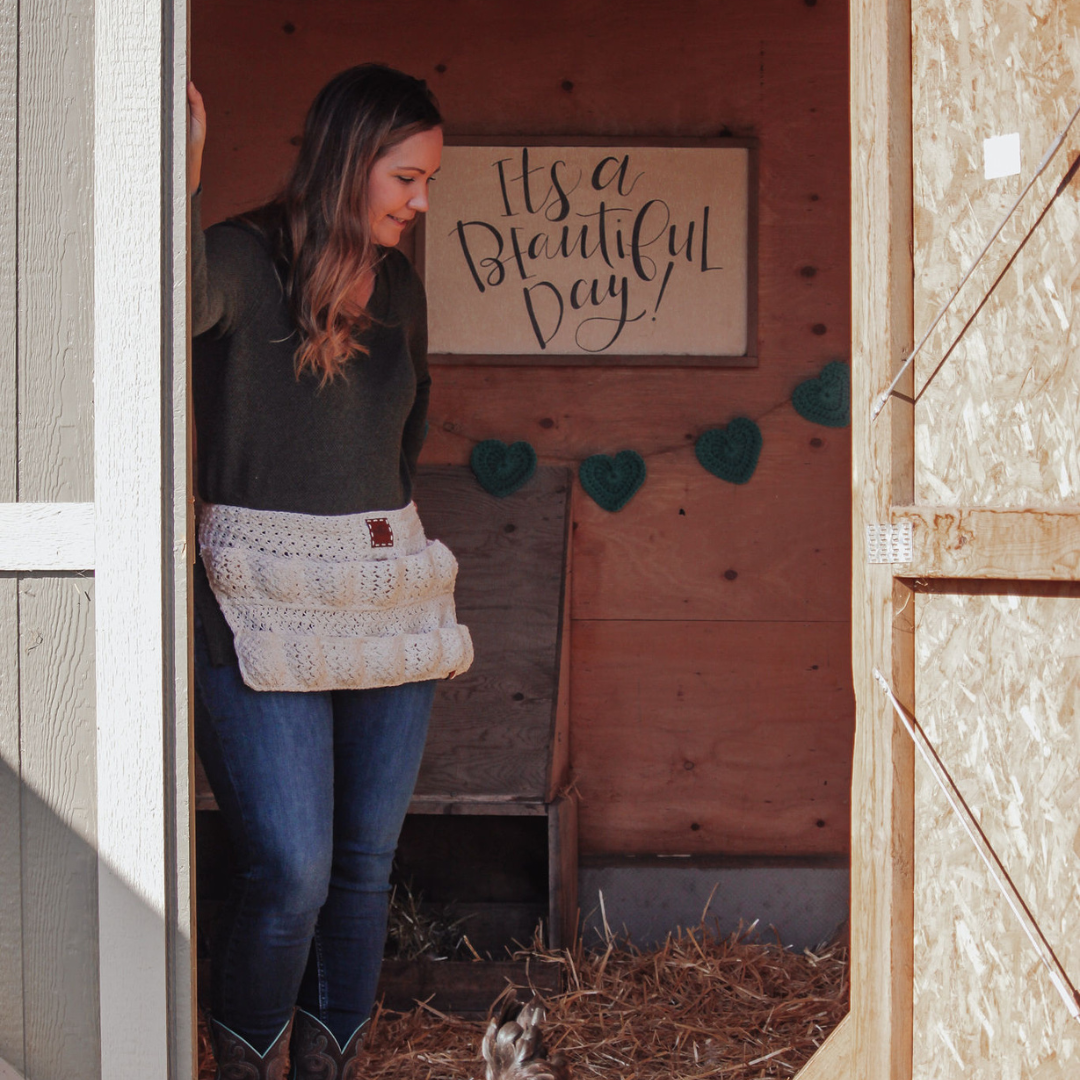
Happiest when she’s spending time with her family of course, Sarah Tattrie also loves baking and crafting and can often be found knitting or crocheting in her down time. It is here that her love of yarn and raising chickens came together and the Homestead Egg Apron was born.
Egg aprons are a chicken mamas best friend! I love being able to collect eggs and have my hands free to take care of my other chores on the homestead. Create this simple, beginner friendly, cute apron using basic crochet stitches and sewing techniques as a fun weekend project.
What you’ll need:
Cotton worsted weight yarn – about 340 yards
Crochet hook – Size H( 5.00 mm )
Blunt yarn needle and some removable stitch markers or sewing pins
Abbreviations:
ch – chain
sc – single crochet
dc – double crochet

EGG APRON BODY INSTRUCTIONS Ch 70.
Row 1: 1sc, 1dc in the second ch from the hook, *skip the next stitch, 1sc, 1dc in the next stitch*. Repeat from * to * to the end of the row. Ch 1 and turn.
Row 2 *Skip the first stitch, 1 sc, 1dc in the next stitch* repeat from * to * to the end of the row. Ch1 and turn.
Repeat Row 2 until work measures 10.5 inches horizontally from the starting row. To make a longer apron crochet another 4 inches to allow for one more panel. When you have reached your desired length, Sc in each stitch around on the outside edge of the apron. Don’t worry too much about where your stitch placement is so long as you go all the way around as evenly as you can. Slip stitch into the first Sc and tie off.
Egg Pockets Instructions *Make 2* Ch 70.
Row 1: 1sc, 1dc in the second ch from the hook, *skip the next stitch, 1sc, 1dc in the next stitch*. Repeat from * to * to the end of the row. Ch 1 and turn.
Row 2 *Skip the first stitch, 1 sc, 1dc in the next stitch* repeat from * to * to the end of the row. Ch1 and turn. Repeat Row 2 until work measures about 2.5 inches horizontally from beginning. Again, Sc in each stitch around trying not to worry too much about where you place your stitches so long as you go around as evenly as possible. Cut a 50 inch tail to sew the panel to the apron. Your pieces should look like image 1.
ATTACHING THE EGG PANELS ONTO THE APRON BODY
Start by sewing your bottom panel first, following the edge using a simple running stitch or straight stitch ( The stitch is worked by passing the needle in and out of the fabric). Stitch the panel all the way around leaving the top portion open, see images 2 and 3.
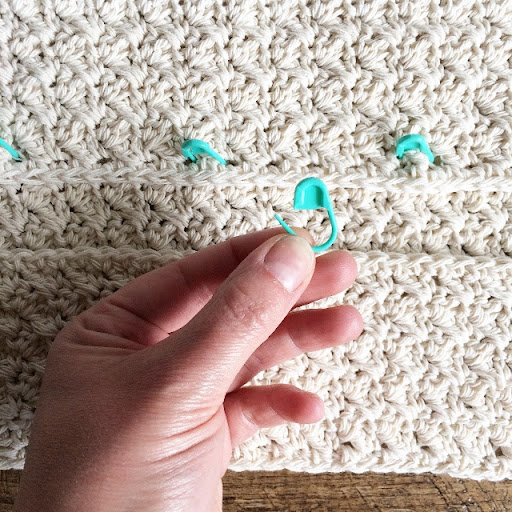
Attach the second panel about 1 inch above the bottom one. Using some kind of fasteners, such as a removable stitch marker (which is what I used ) or sewing pins to hold it in place. Starting at the top corner, stitch the panel into place, being sure to leave the top open. See images 4, 5 and 6, of how I attached the panel for sewing.
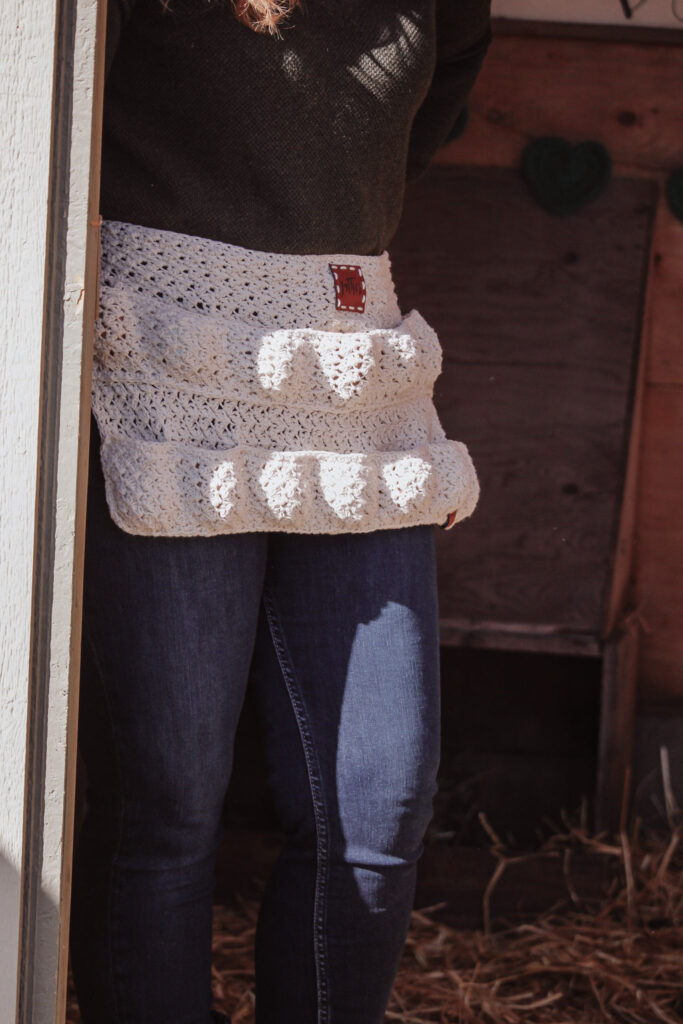
Next you will need to sew your egg pockets. Place a marker on every 9th stitch or so across, again not a huge deal on the stitch placement so long as the spaces seem even enough to you. Starting at the top of the first pocket, stitch your way down, across the bottom, and back up the top of the next pocket, and down again. Be sure to stitch a few extra stitches at the top as this area will see the most wear and tear as you tuck your eggs in day in and day out. When you reach the bottom of your last pocket, fasten and tie off. Repeat this process for the bottom panel, see photos 7, 8 and 9.
Now, you will need to have some way to fasten this egg cozy to yourself. Start by attaching your yarn to the very top corner. (see image 10). You will work your stitches towards the bottom of the apron. Sc in the next 6 stitches, ch 1 and turn. (see image 10)
Row 2 *Skip the first stitch, 1 sc, 1dc in the next stitch* repeat from * to * to the end of the row. Ch1 and turn. Repeat Row 2 until your strap measures about 20 inches long. This is a good length for anyone with a waist circumference from around 24 to 34 inches. If your waist circumference is larger than that you may want to make your apron straps 10 inches longer. Or if you’re making them for a smaller person take 10 inches off.
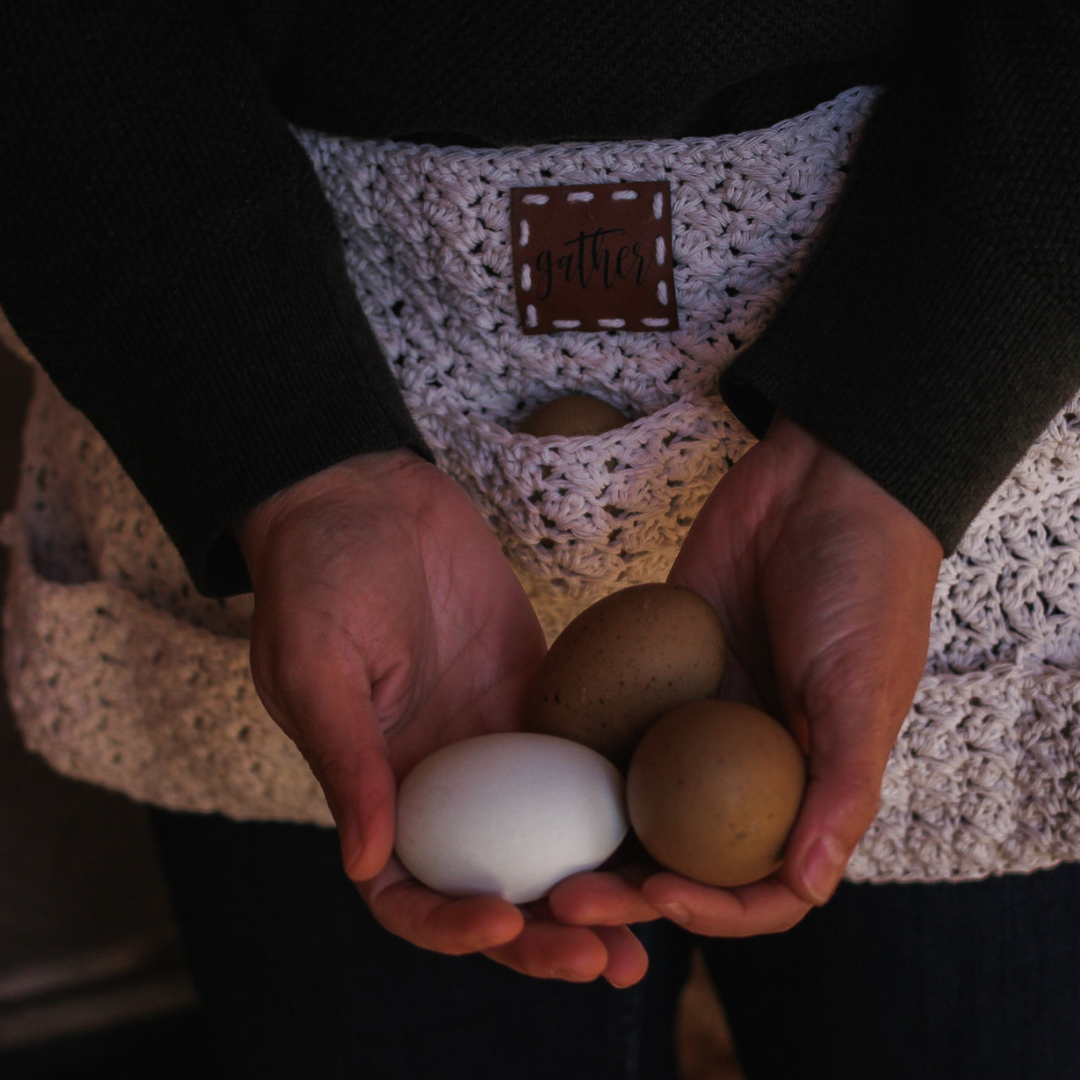
Once your apron straps are long enough, cut your yarn, fasten off and weave in the ends. You now have yourself the perfect little apron for collecting eggs.
Finished measurements: about 10.5 inches in length by about 19.5 inches across (this will depend on your tension and not overly important with this project).


Photography by Larissa MacIsaac of Larilea Studios
MORE DO IT YOURSELF PROJECTS:
July 1, 2024
Keep Reading
next post
previous post


© 2025 Trailblazher Co. All Rights Reserved.
Legal