


Seed Organization Made Simple

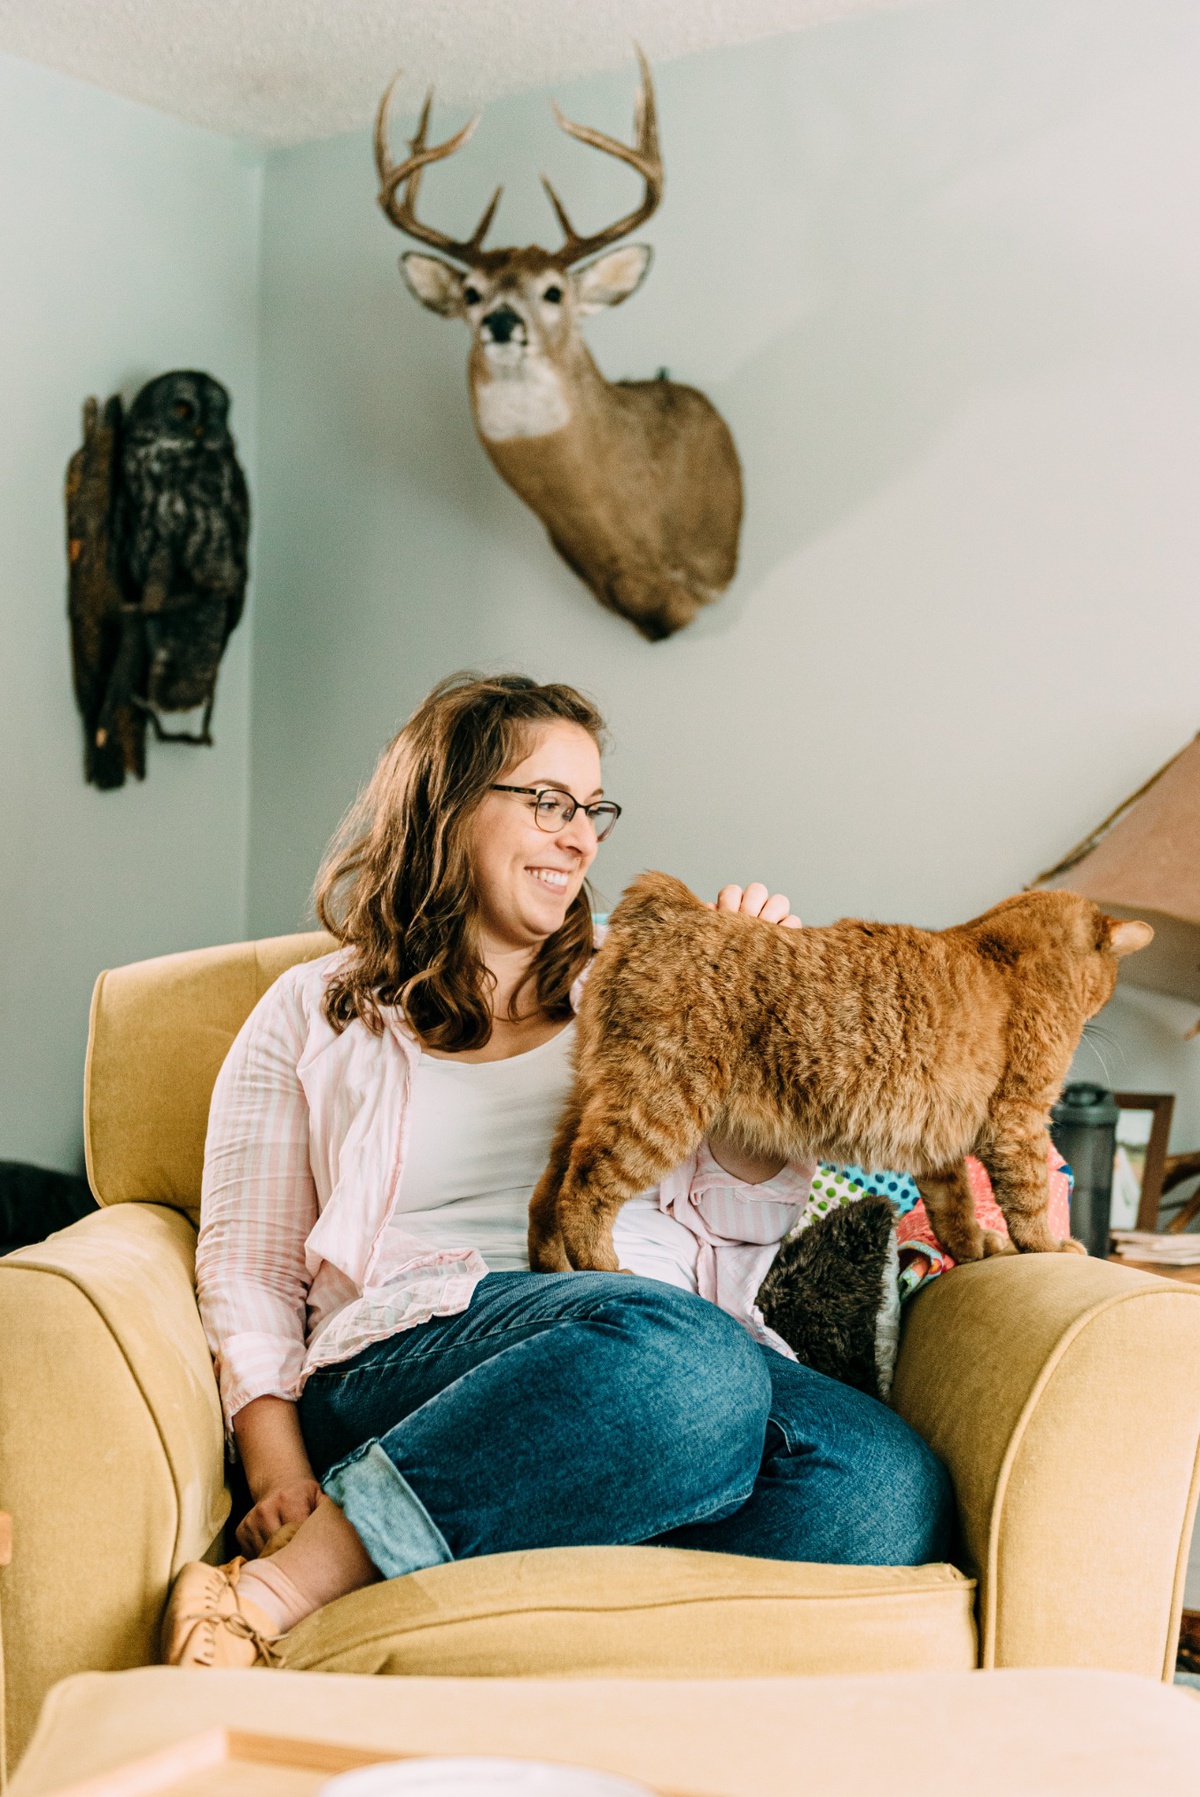
Vanessa Wrubleski was born and raised in a city, and started living a rural life eight years ago with her husband. Since then she has jumped into the rural lifestyle and self-sufficient living head first. Between sheep farming with her father in-law, to canning, welding, and of course gardening, there isn’t much Wrubleski doesn’t do on the farm. Wrubleski now teaches other women that it doesn’t matter where you live, you can grow your own food and be a modern homesteader; you just have to be Rural At Heart.
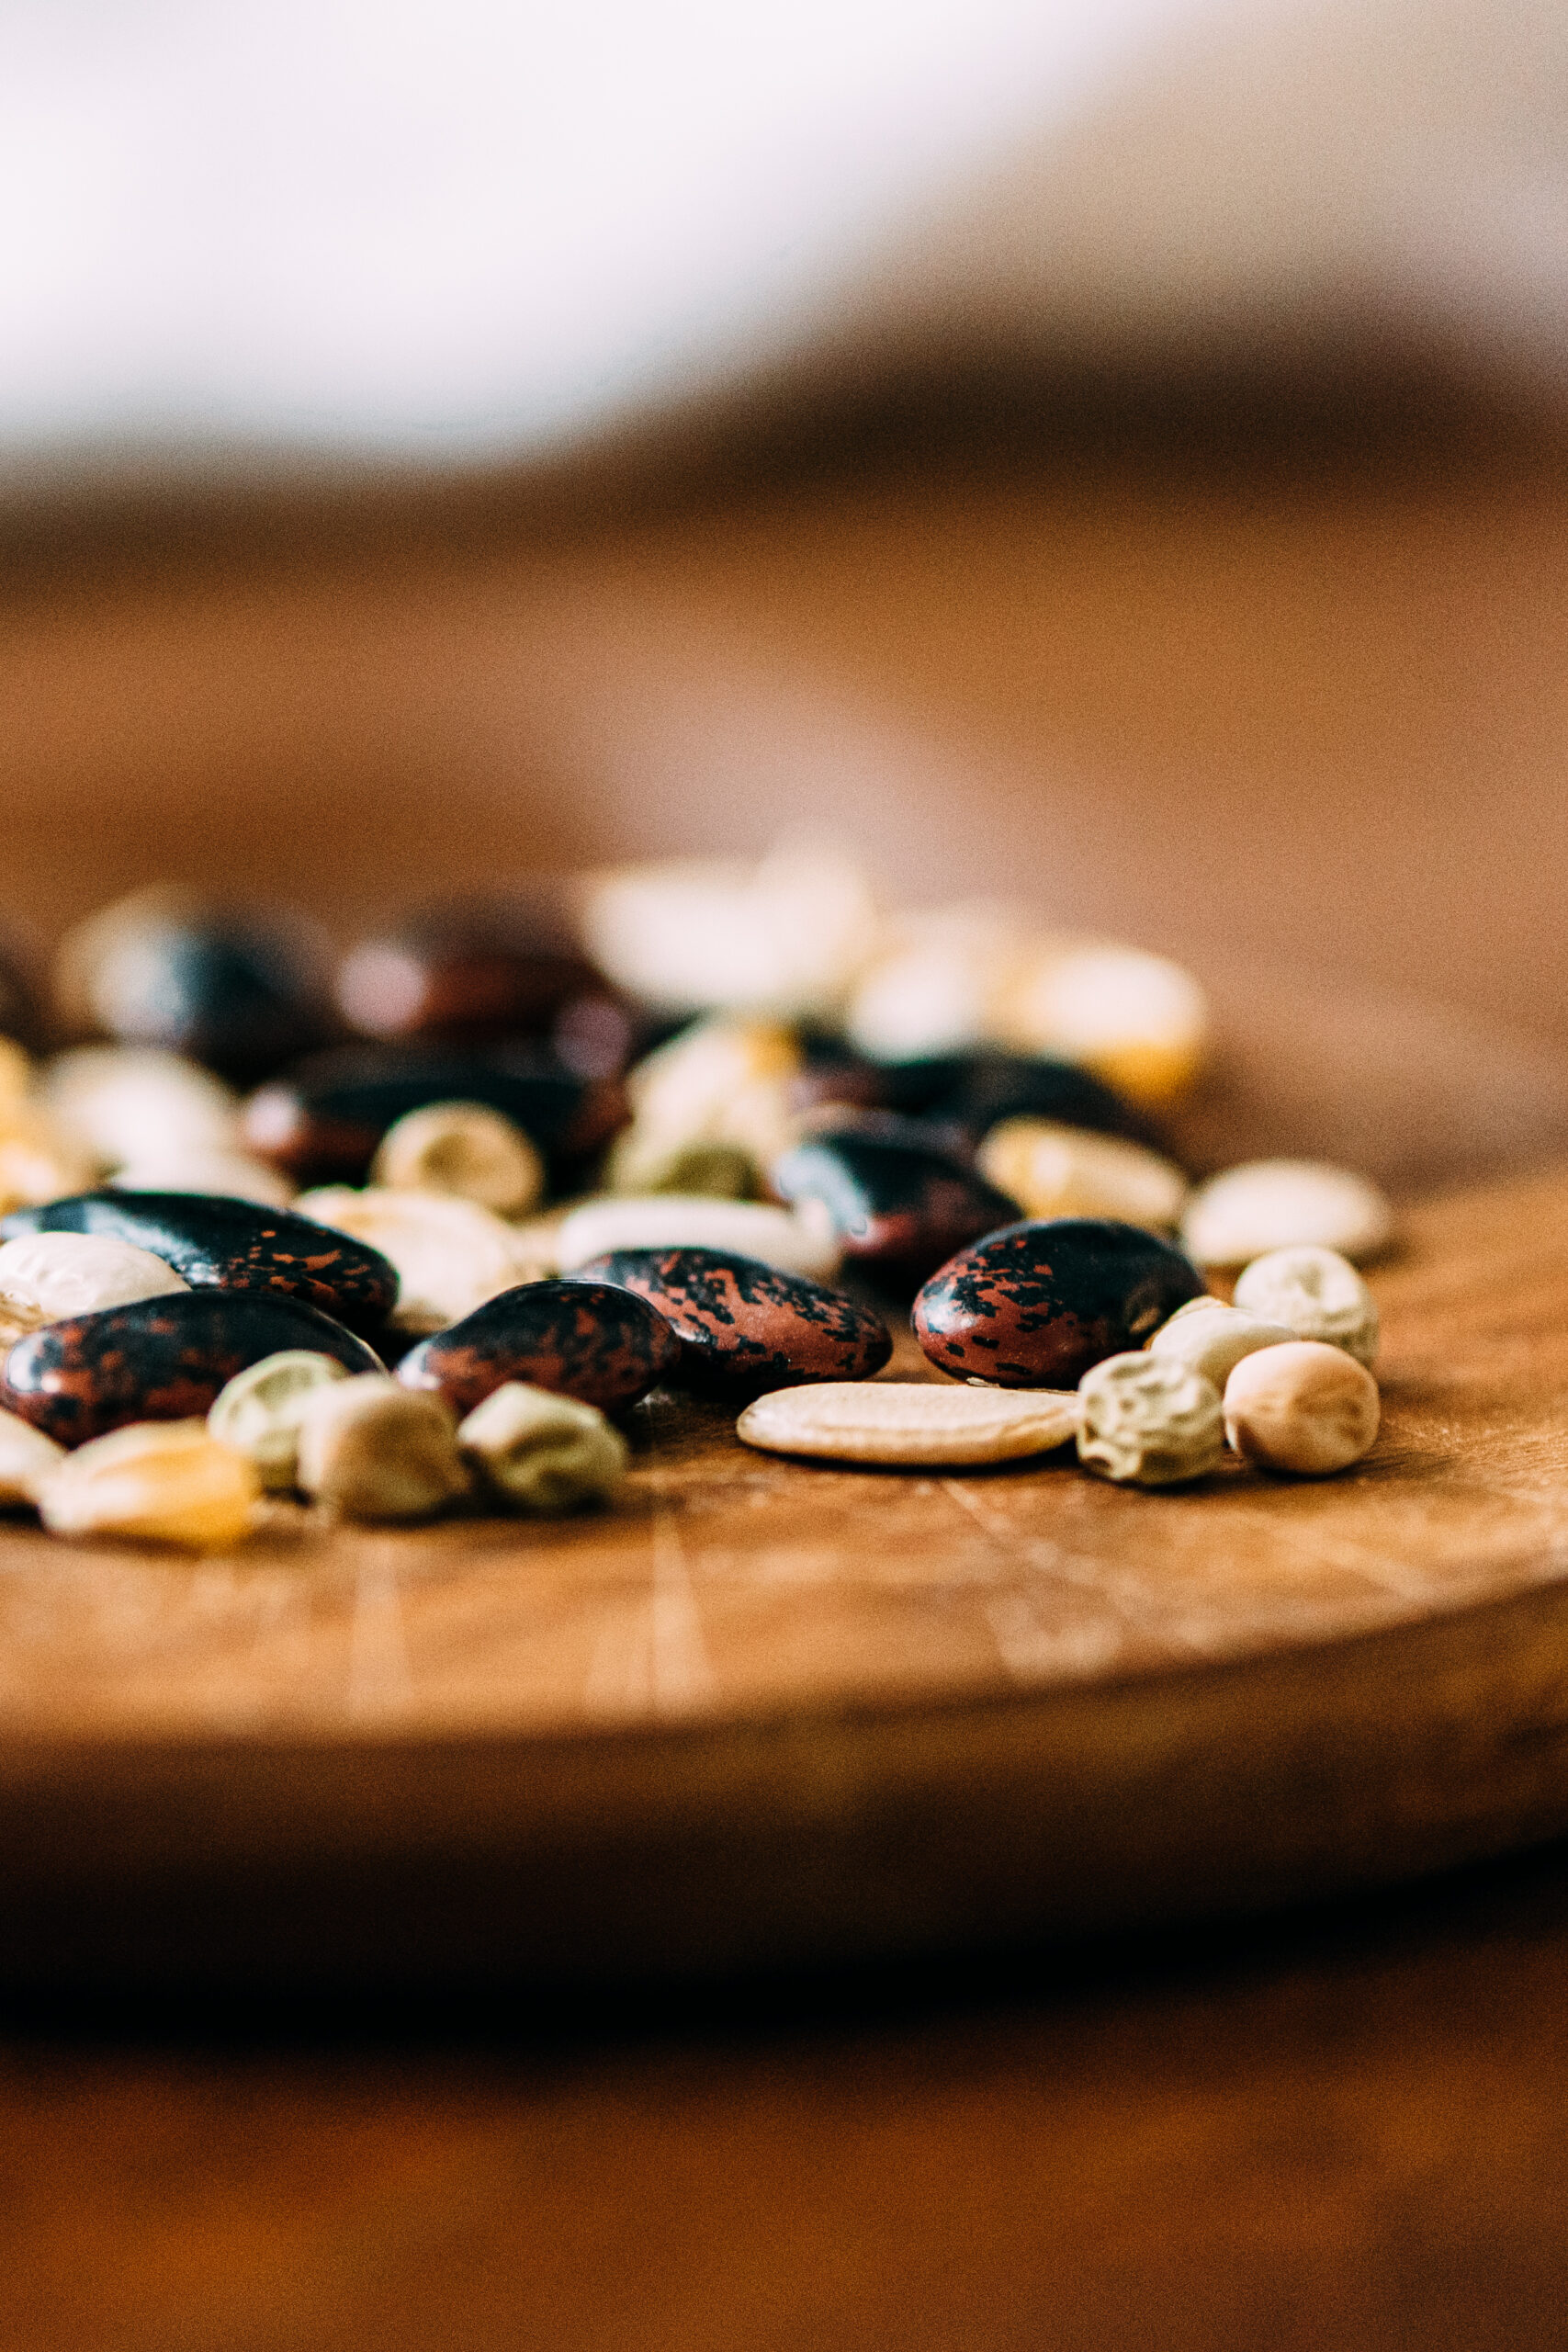
If you are anything like me, you have an abundance of seeds stashed away just waiting for their turn in the dirt. Vegetables, flowers, half-empty packs – and double packs, because you forgot you had already bought those broccoli seeds.
Choosing the Right Storage For Your Seed Organization
My seed situation was a mess until four months ago when I decided to finally deal with it. I wanted something that was not only beautiful to look at, but functional and inexpensive. My mother-in-law always used an old shoe box (I used a pail, eek!), so that is where I started. I didn’t want just any old shoe box, and I definitely needed to ditch the pail. A quick trip to the craft store found me eyeing-up beautifully patterned photo storage boxes and I found two I absolutely loved: one for flowers, one for vegetables.
Benefits of an Organized Seed System for Spring Planting
While simply being organized is the most obvious benefit to having a seed storage system, this process also ensures your seeds are stored in optimal conditions for quality retention. Personally, my house is coolest upstairs during the winter, so I keep them on my bookshelf. During the summer, they live in the cold-room.
These photo boxes are easily available and come in gorgeous colours and patterns and are the perfect size. If you choose to use these photo boxes, they typically come with tabbed dividers – which are necessary for my particular storage method. They also usually include moisture absorbing packs, don’t throw those away! Keep them in your seed box to absorb any extra moisture in the air. A way to upcycle materials you already have at home would be to use shoe boxes and paint or wrap them in pretty paper. We all have at least one or two boxes laying around. If your box choice does not come with dividers, do not fret, we will go over how to DIY these next.
Labeling & Dividing Seed Organization
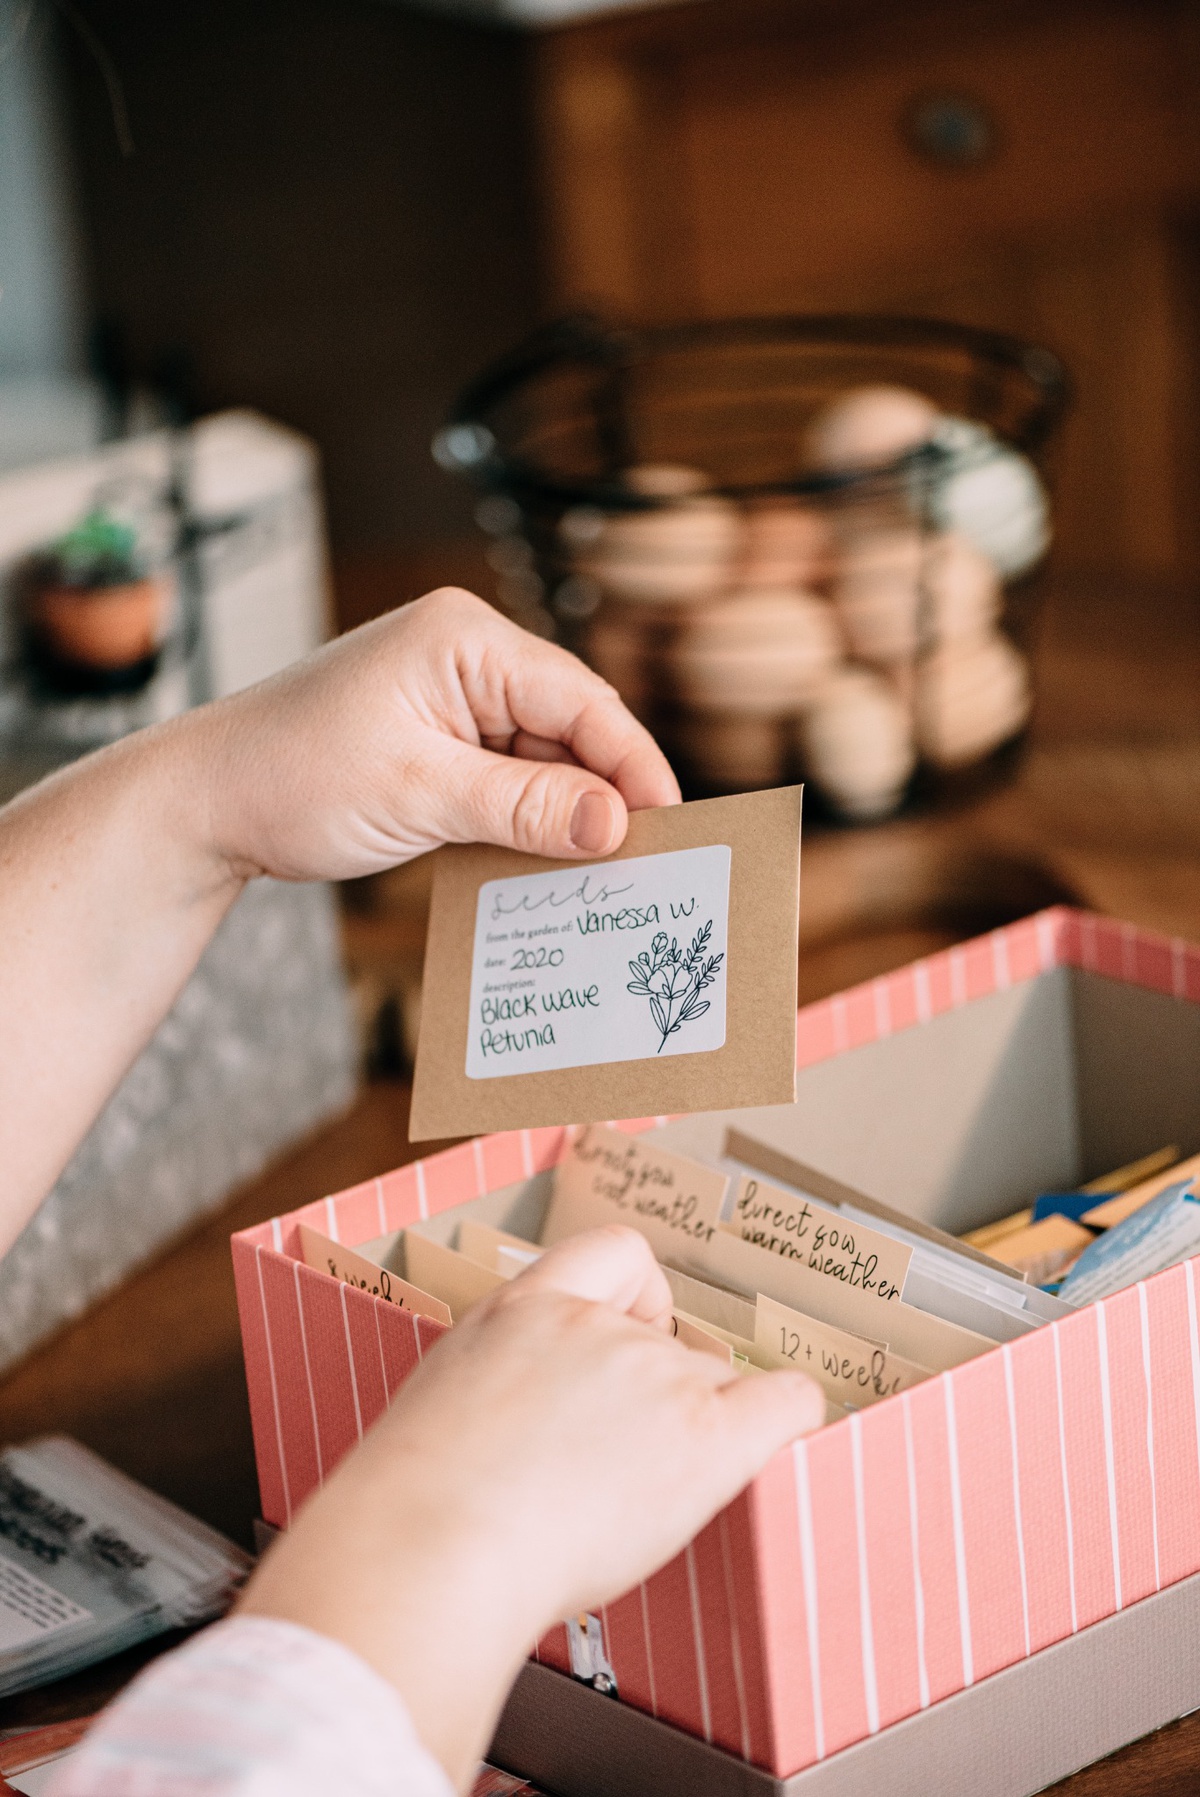
To make the dividers, I use a mid-to-heavy weight card stock. Cut them to size using a ruler and blade. Remember to leave a portion (1/3 to 1⁄2 of the way across the card on the long edge) higher than the rest as a tab for labelling. When it comes to labelling your tabs, get as fancy and creative, or go as simple as you’d like. Even if no-one else ever sees your seed boxes, it’s for you and it should bring you joy every time you open the lid. You can simply write on the tabs with a marker, use a label maker, print a label on plain paper with a fun font, or use a vinyl cutting machine to get really fancy! If you want pretty tabs but don’t have a crafty bone in your body, you can buy my tabs pictured here in my online shop, The Blushing Farmhouse.
How to Categorize Your Seeds
Now that you have all of the bits and pieces, you can start putting together your boxes and actually organizing your seeds. First things first, gather all of those packets. I have enough seeds that I separate mine into two boxes, flowers and vegetables, but this is not necessary if you don’t have an excessive amount.
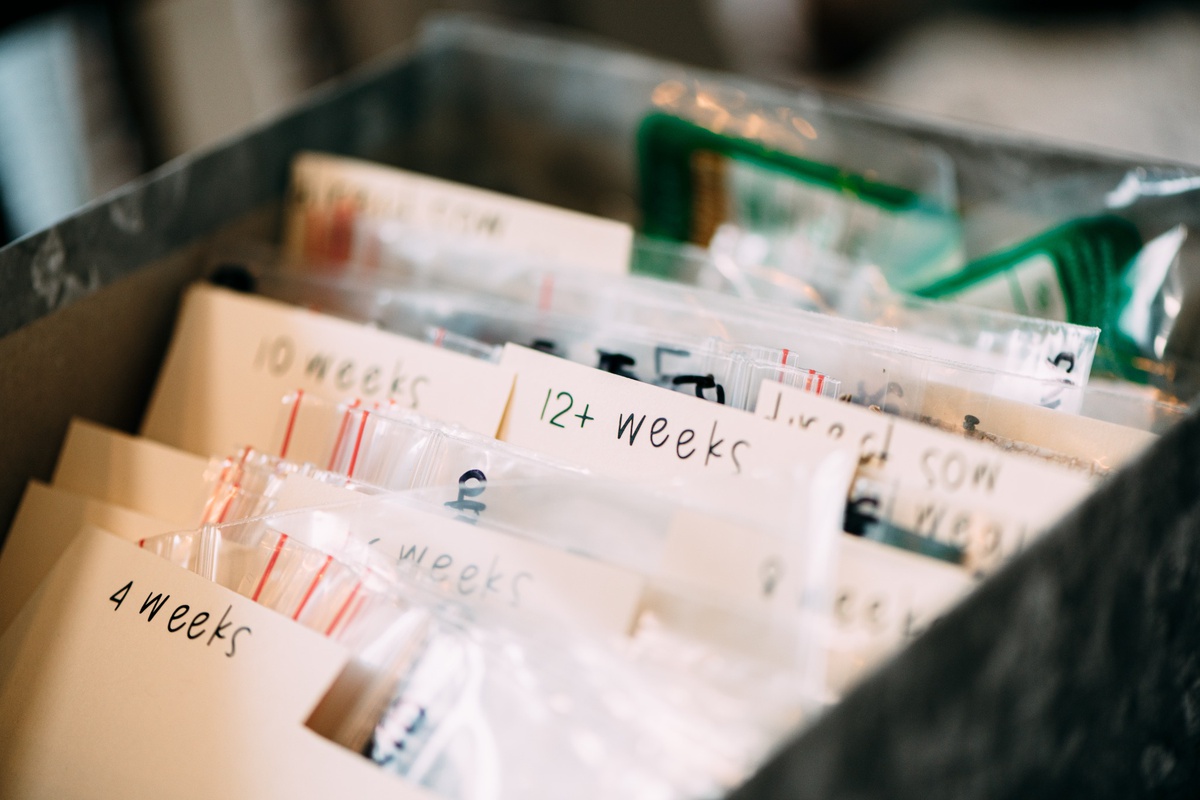
From there, I will separate both groups into these categories:
- Direct sow, cold weather
- Direct sow, warm weather
- 4 weeks
- 6 weeks
- 8 weeks
- 10 weeks
- 12+ weeks
In total I will have 14 piles. My tabs will be labeled to reflect my seven different categories and I will make two of each. Make this work for you and your needs, and remember, you can adapt these down the line as your garden and your needs grow and change.
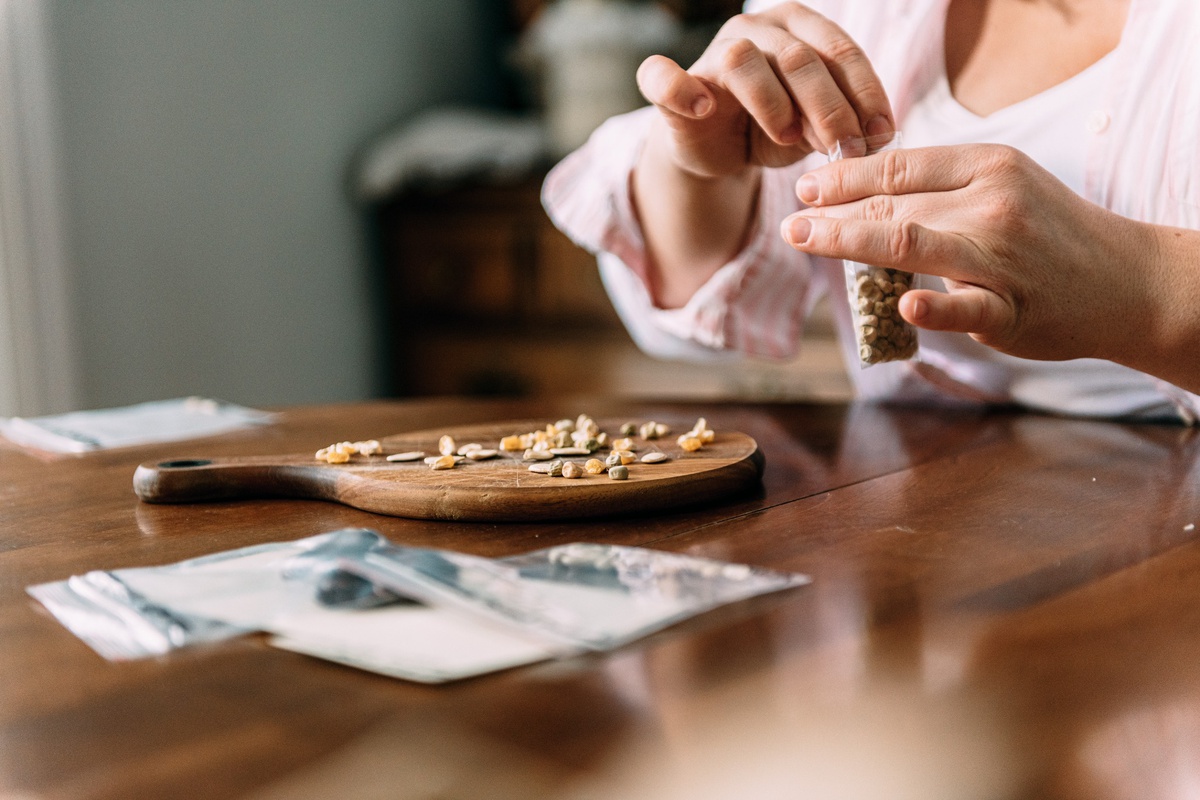
Any opened packages of seeds gets transferred to small zipper bags if the packages are not resealable. This keeps air and moisture out, again prolonging that seed’s quality. When I transfer the seeds, I am sure to either cut and affix the packet’s sowing and growing information to the new bag, or I will write out the necessary information (including the manufacturer’s name). Each packet then goes behind its corresponding divider dependent on the manufacturer’s recommendations for sowing (usually found on the back of the seed pack), and voila! Your seeds are all organized in one place for spring planting.
Photographer Credit: Ehjae Chan
More Spring Posts:
January 24, 2024
Keep Reading
next post
previous post


© 2024 Trailblazher Co. All Rights Reserved.
Legal